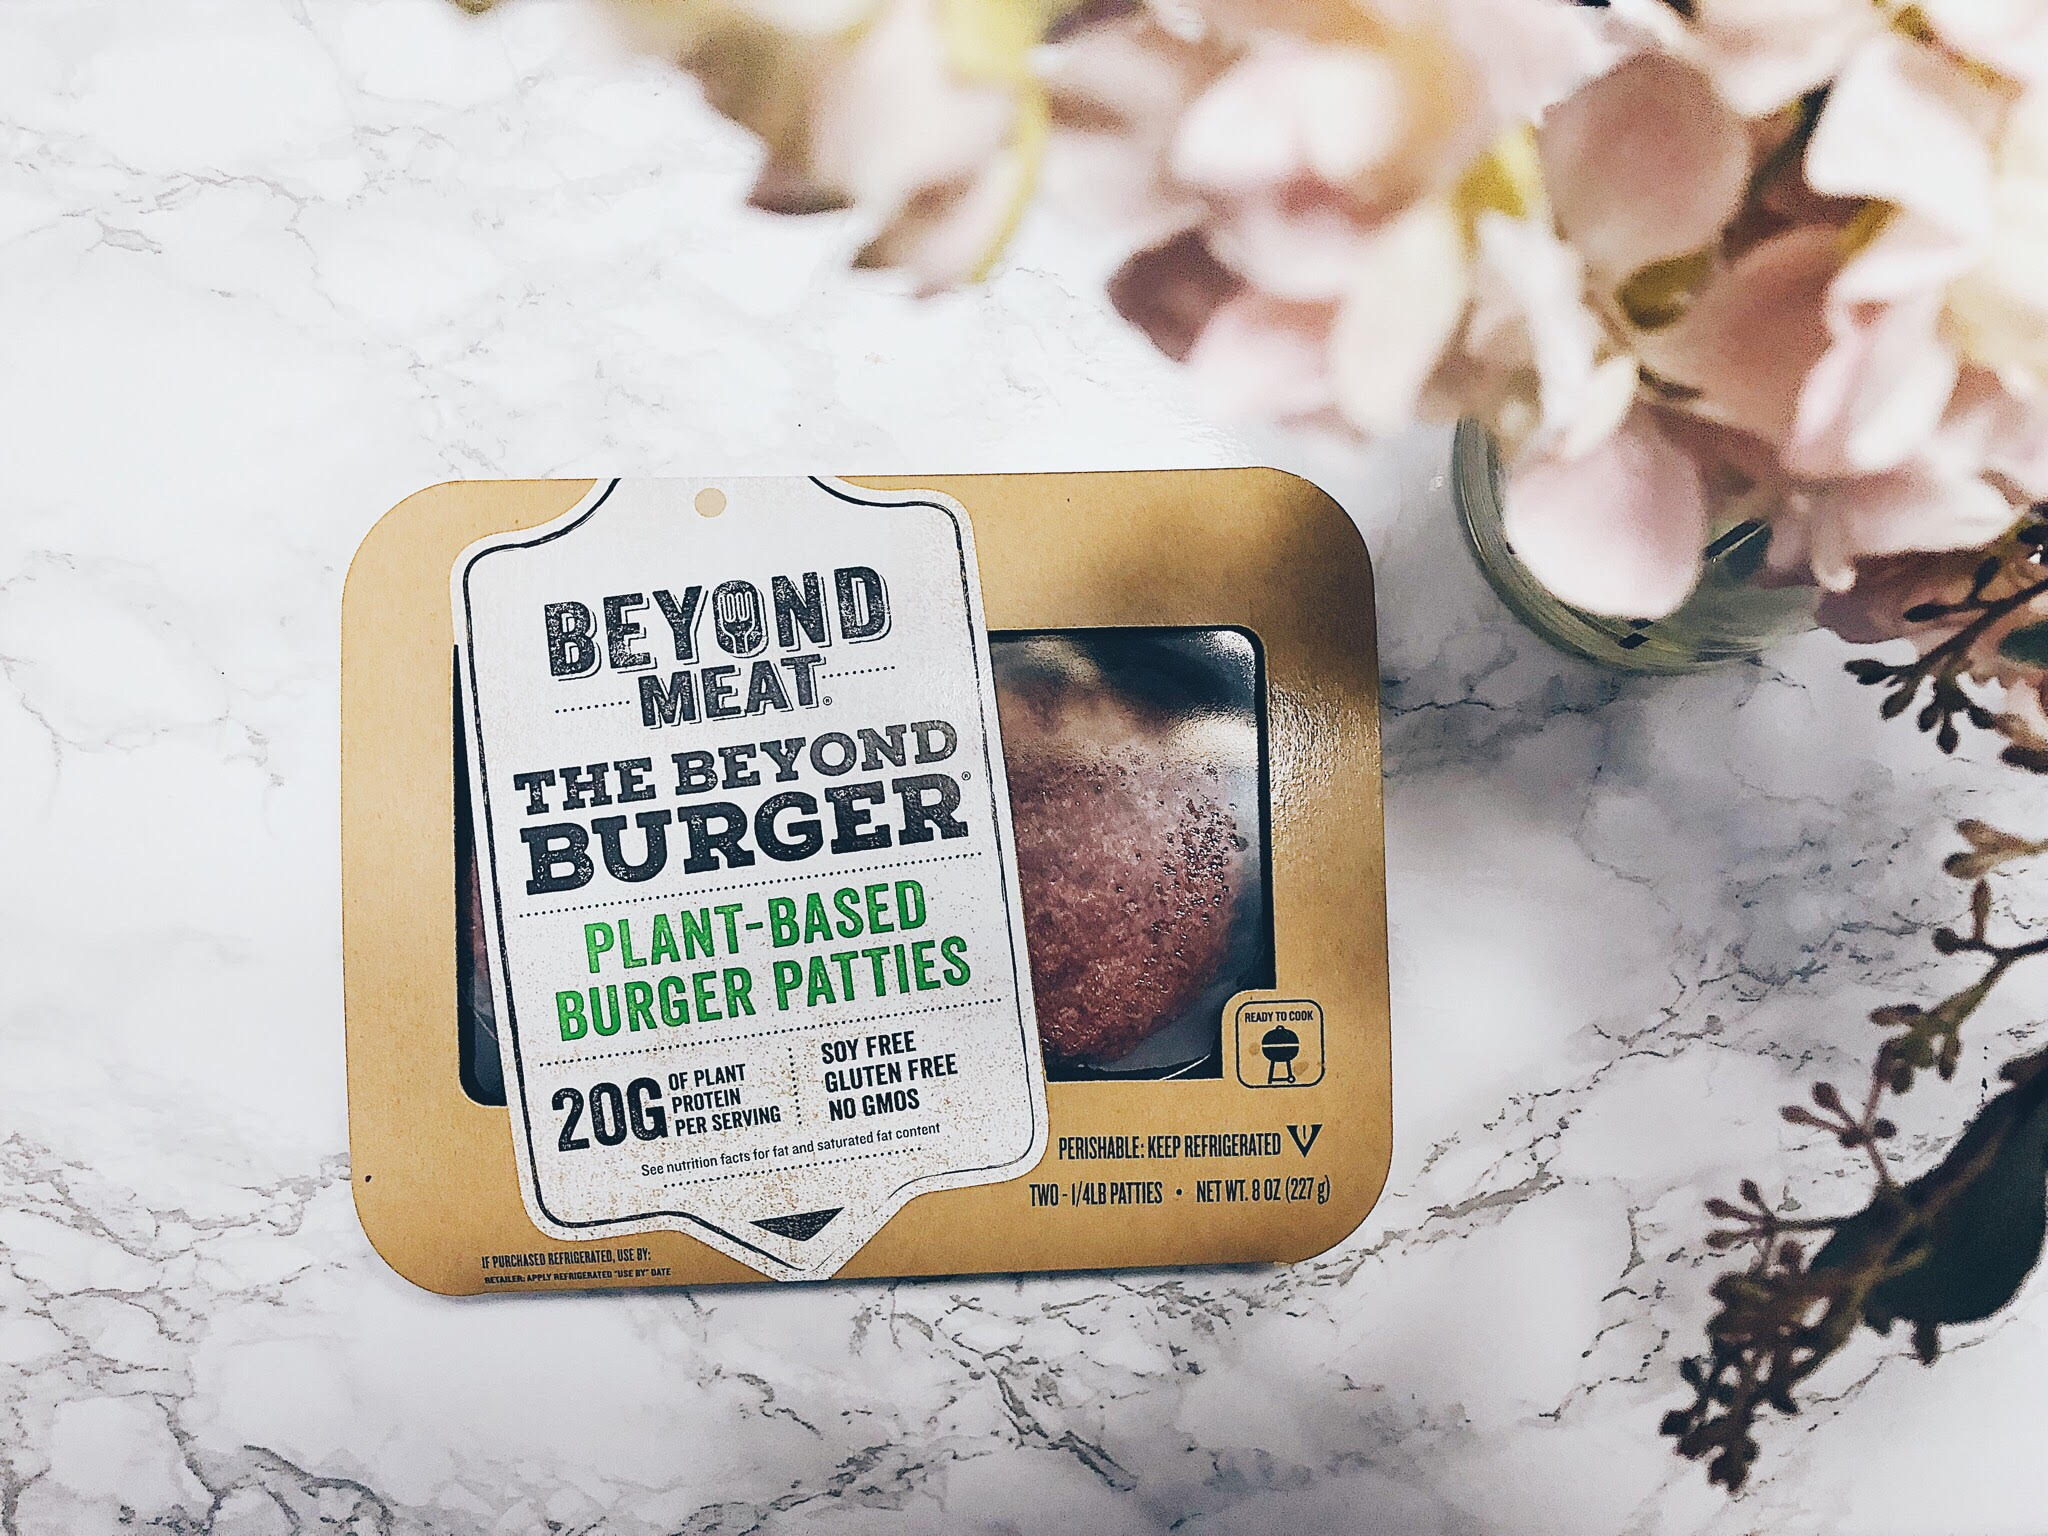
Recently, I had the pleasure of trying the beyond burger. I know I’m late but I must say that I was pleasantly surprised. Both meat eaters and non-meat eaters alike can agree that a great veggie burger is not easy to come by. On a personal level, I mostly struggle with texture. Most veggie burgers, to me, are too soft or mushy in texture. I know that for some people this is not an issue; they choose a veggie burger and texture difference is just one of those things. For me, however, I need variation from the already soft bread, perhaps the soft avocado and all the other plant based toppings. The beyond burger really did it for me for the following reasons.
The Ease
It was pretty easy to make and it was quick! I didn’t need any additional oil. I just threw it in the pan. It only took 3 minutes on each side and dinner was served. I’m super busy so dinner in under ten minutes is a win in my book.
Simple cooking instructions
The Realness
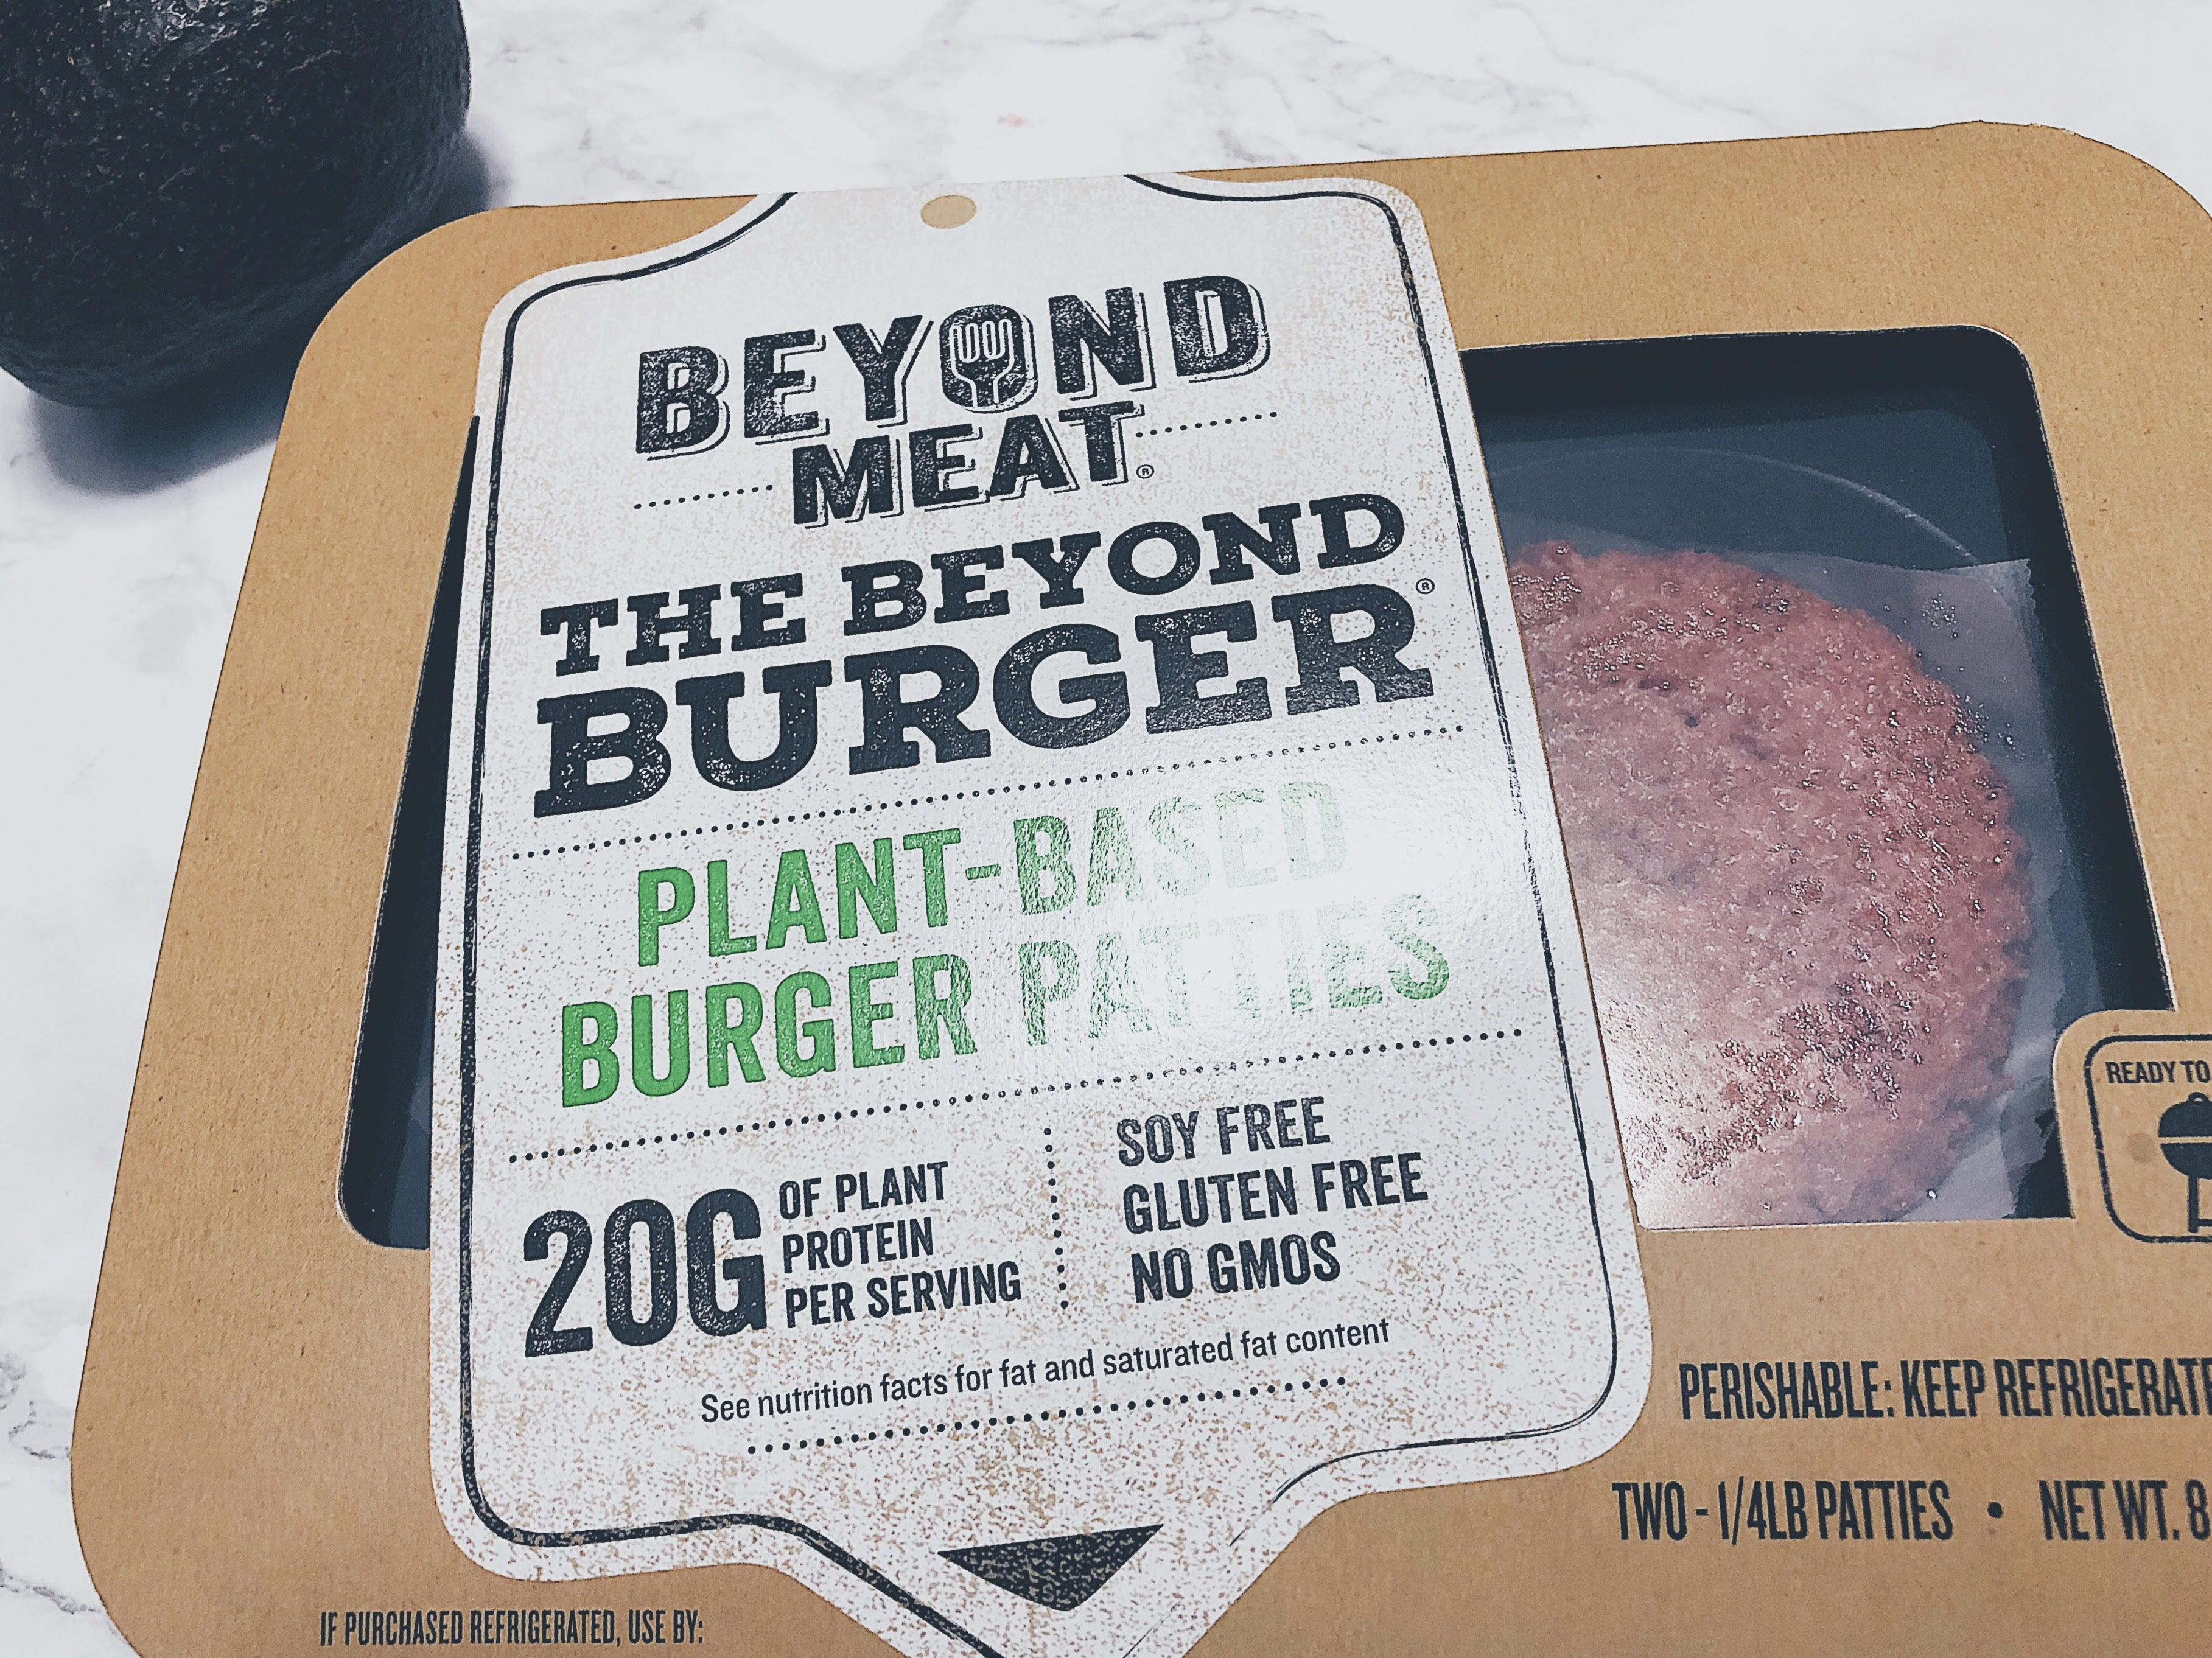
It looked real both before it was cook and after. For some this might be weird or off putting but I like it. It’s even pink in the middle when it’s cooked. This means I can still bring my own burgers for the grilled during family BBQs without getting the first degree about where I get my protein.
Raw Beyond Burger
The Macros
Speaking of protein, the macros are pretty good. It has 20 grams, not too shabby considering there is no soy . It’s pretty low in carbs (6 grams) for those who care. But beware, it does have about 22 grams of fat. Basically, the macros are close to that of a regular burger of the same size.
20 grams of Protein
The Texture
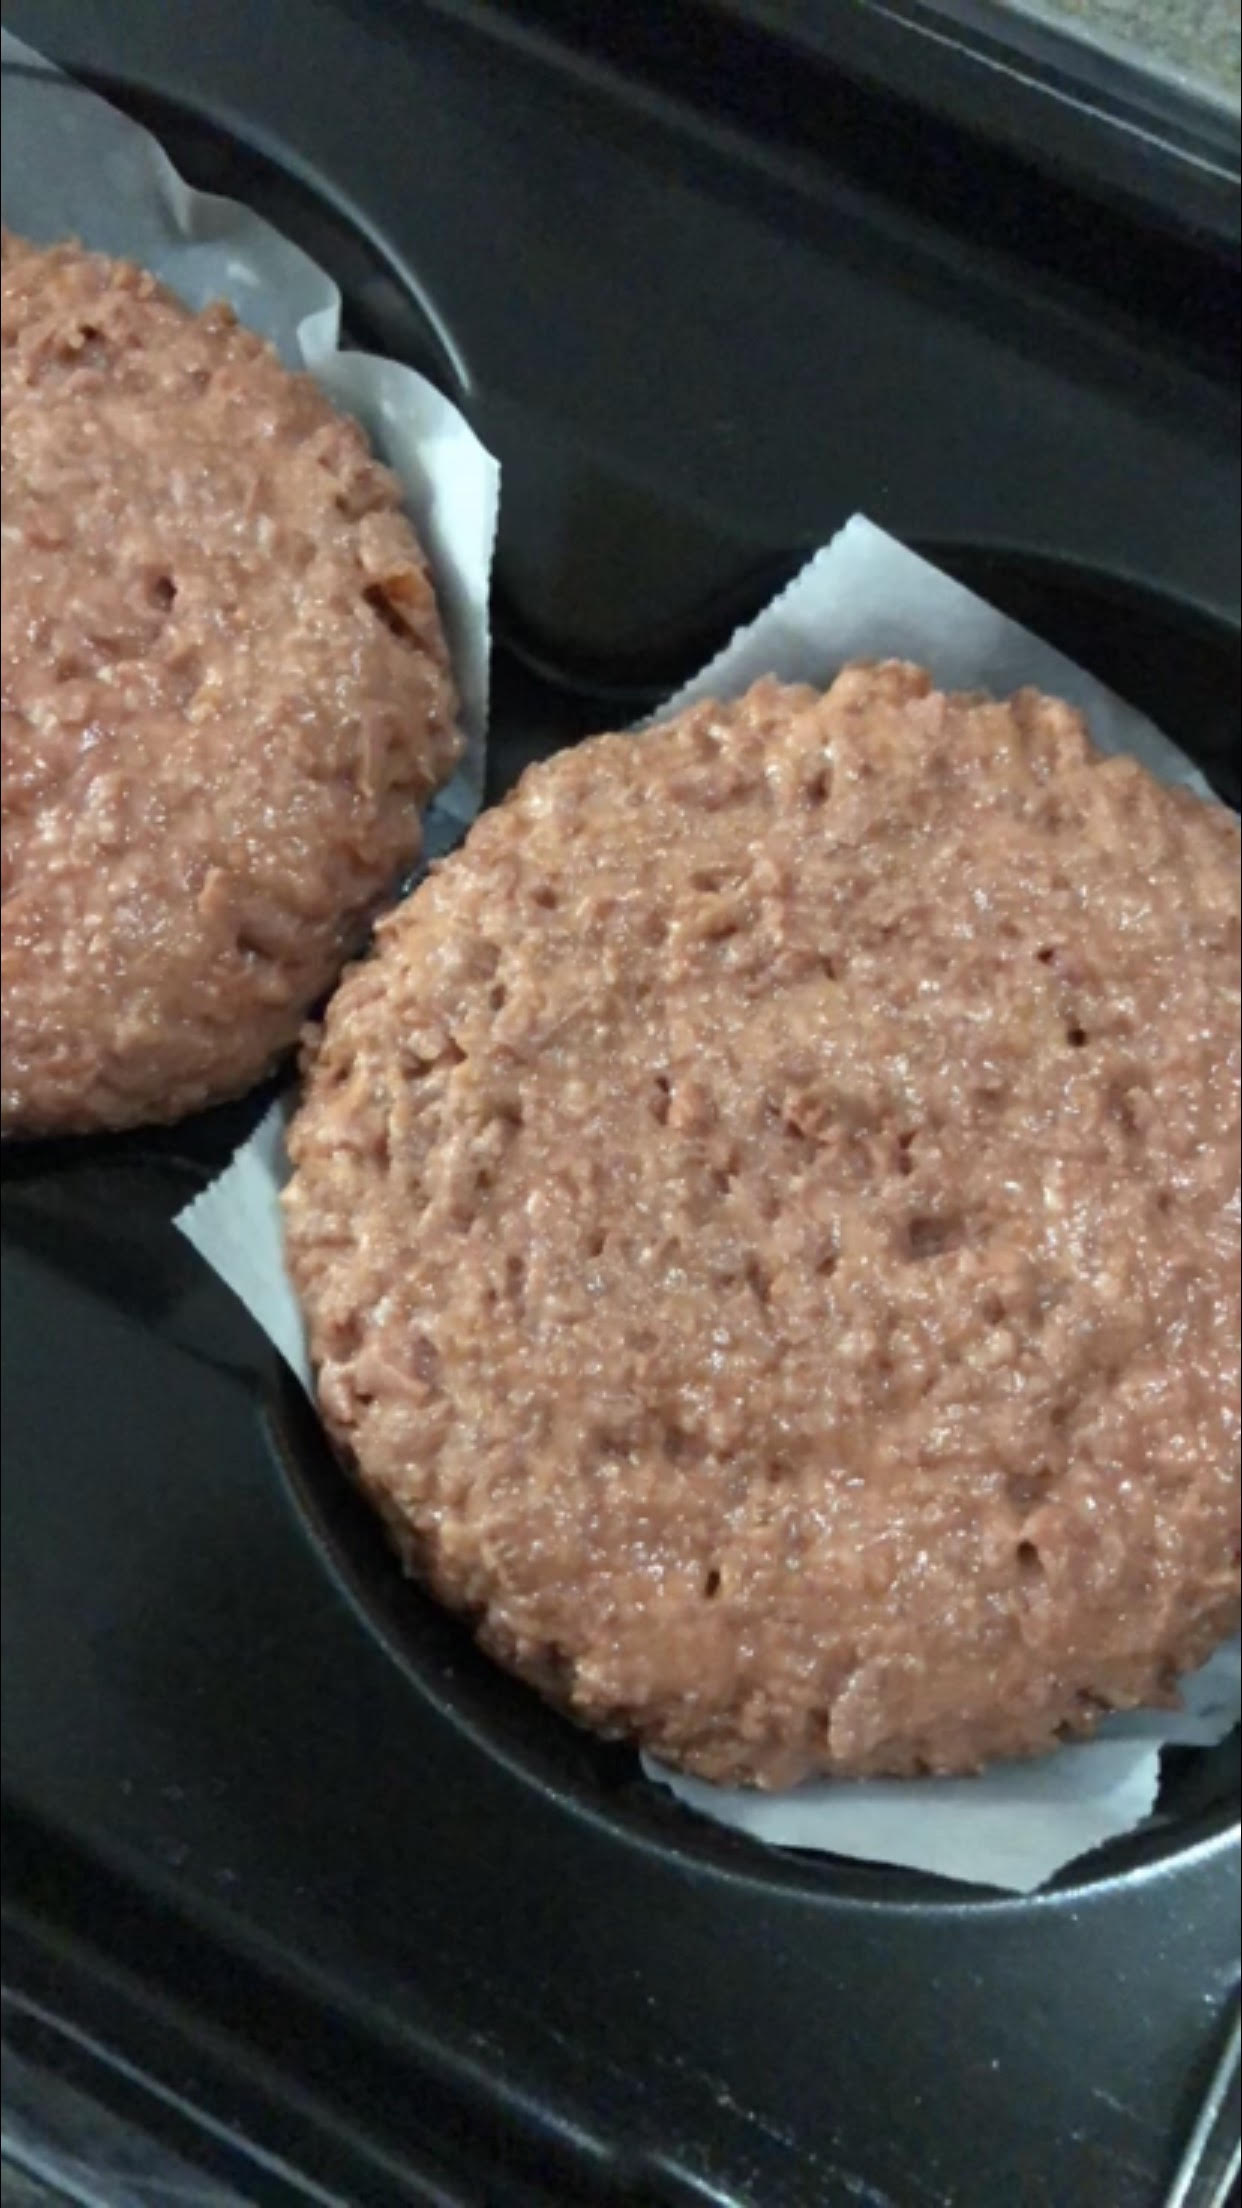
Don’t get me wrong it’s not an exact replica of beef but it comes pretty darn close. It’s only a little softer in texture compared to real meat. The texture that the burger gets when cooking in its own oil is very similar to the burgers I used to eat before I went plant based. I like it a little crispy, what can I say.
Texture Shot
The Taste
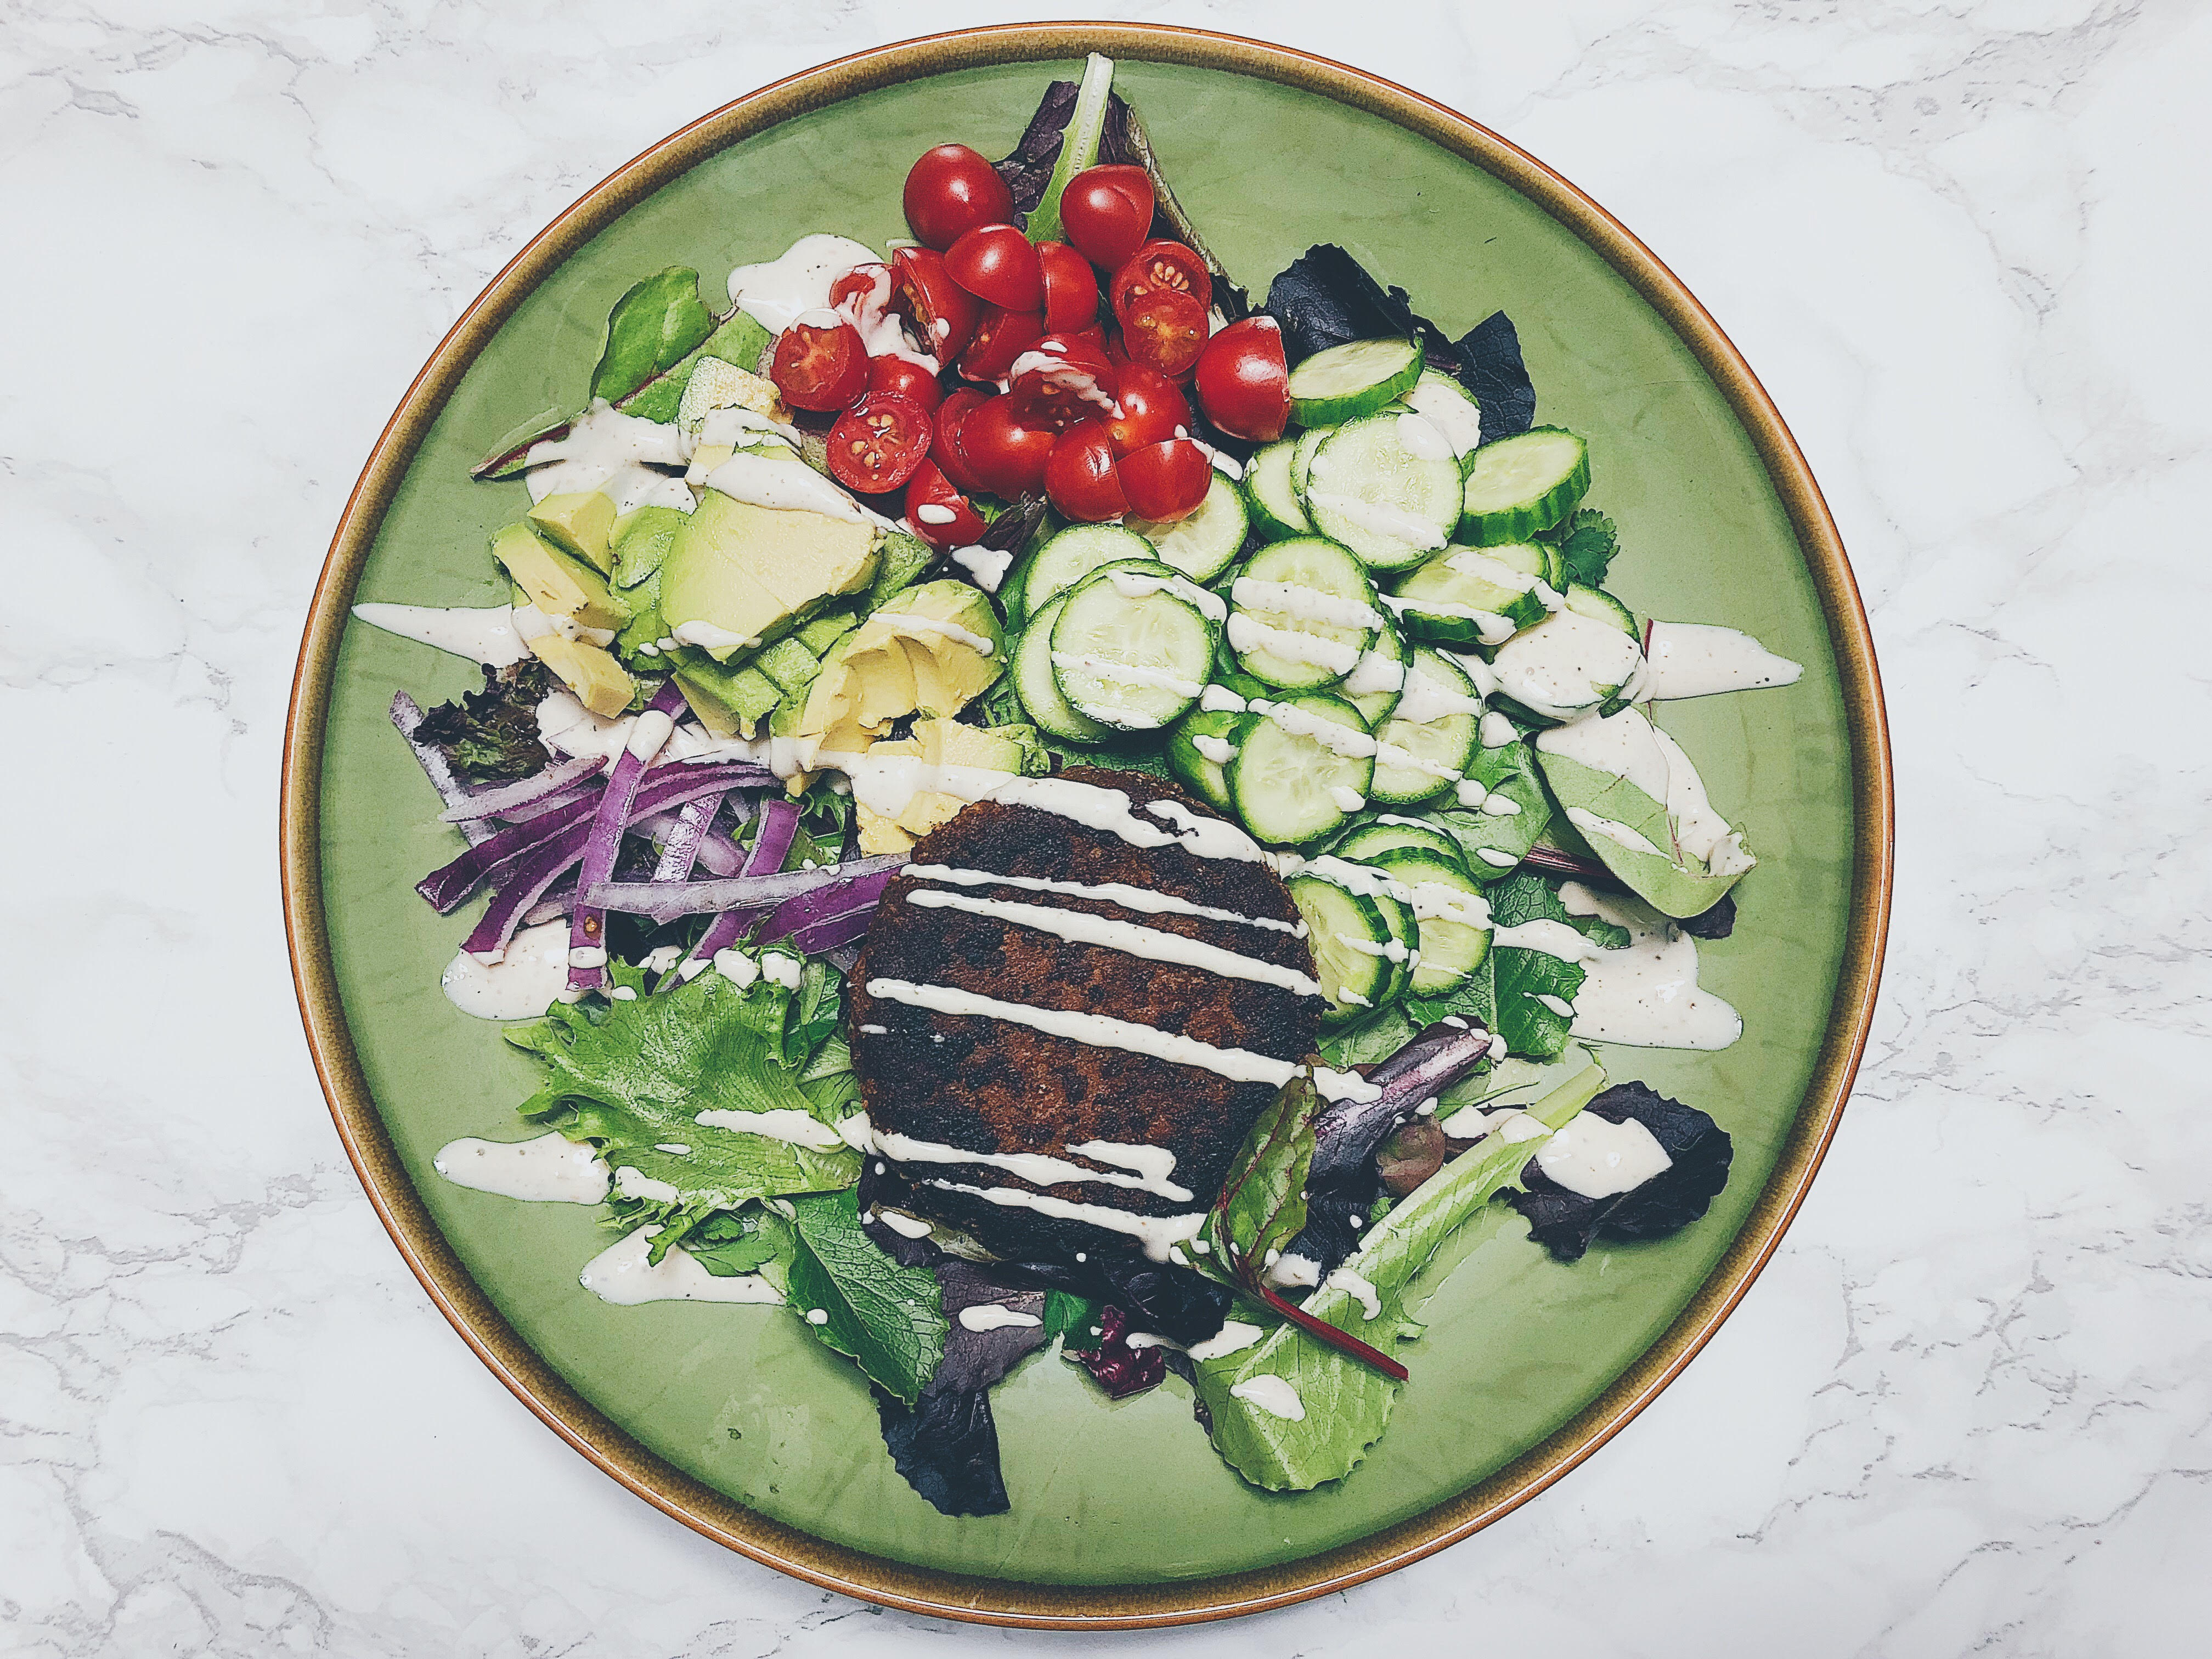
It tastes pretty darn good. To be sure, I didn’t add any extra seasoning to the burger which is so unlike me. I could eat it as is and that’s saying a lot. What says even more is that I had a few meat eaters try it and they liked it! Some even came back for seconds.
Burger Salad
This burger for me is a game changer. I’m looking forward to throwing some of these on the grill this summer. I hope you try it, if you haven’t already!
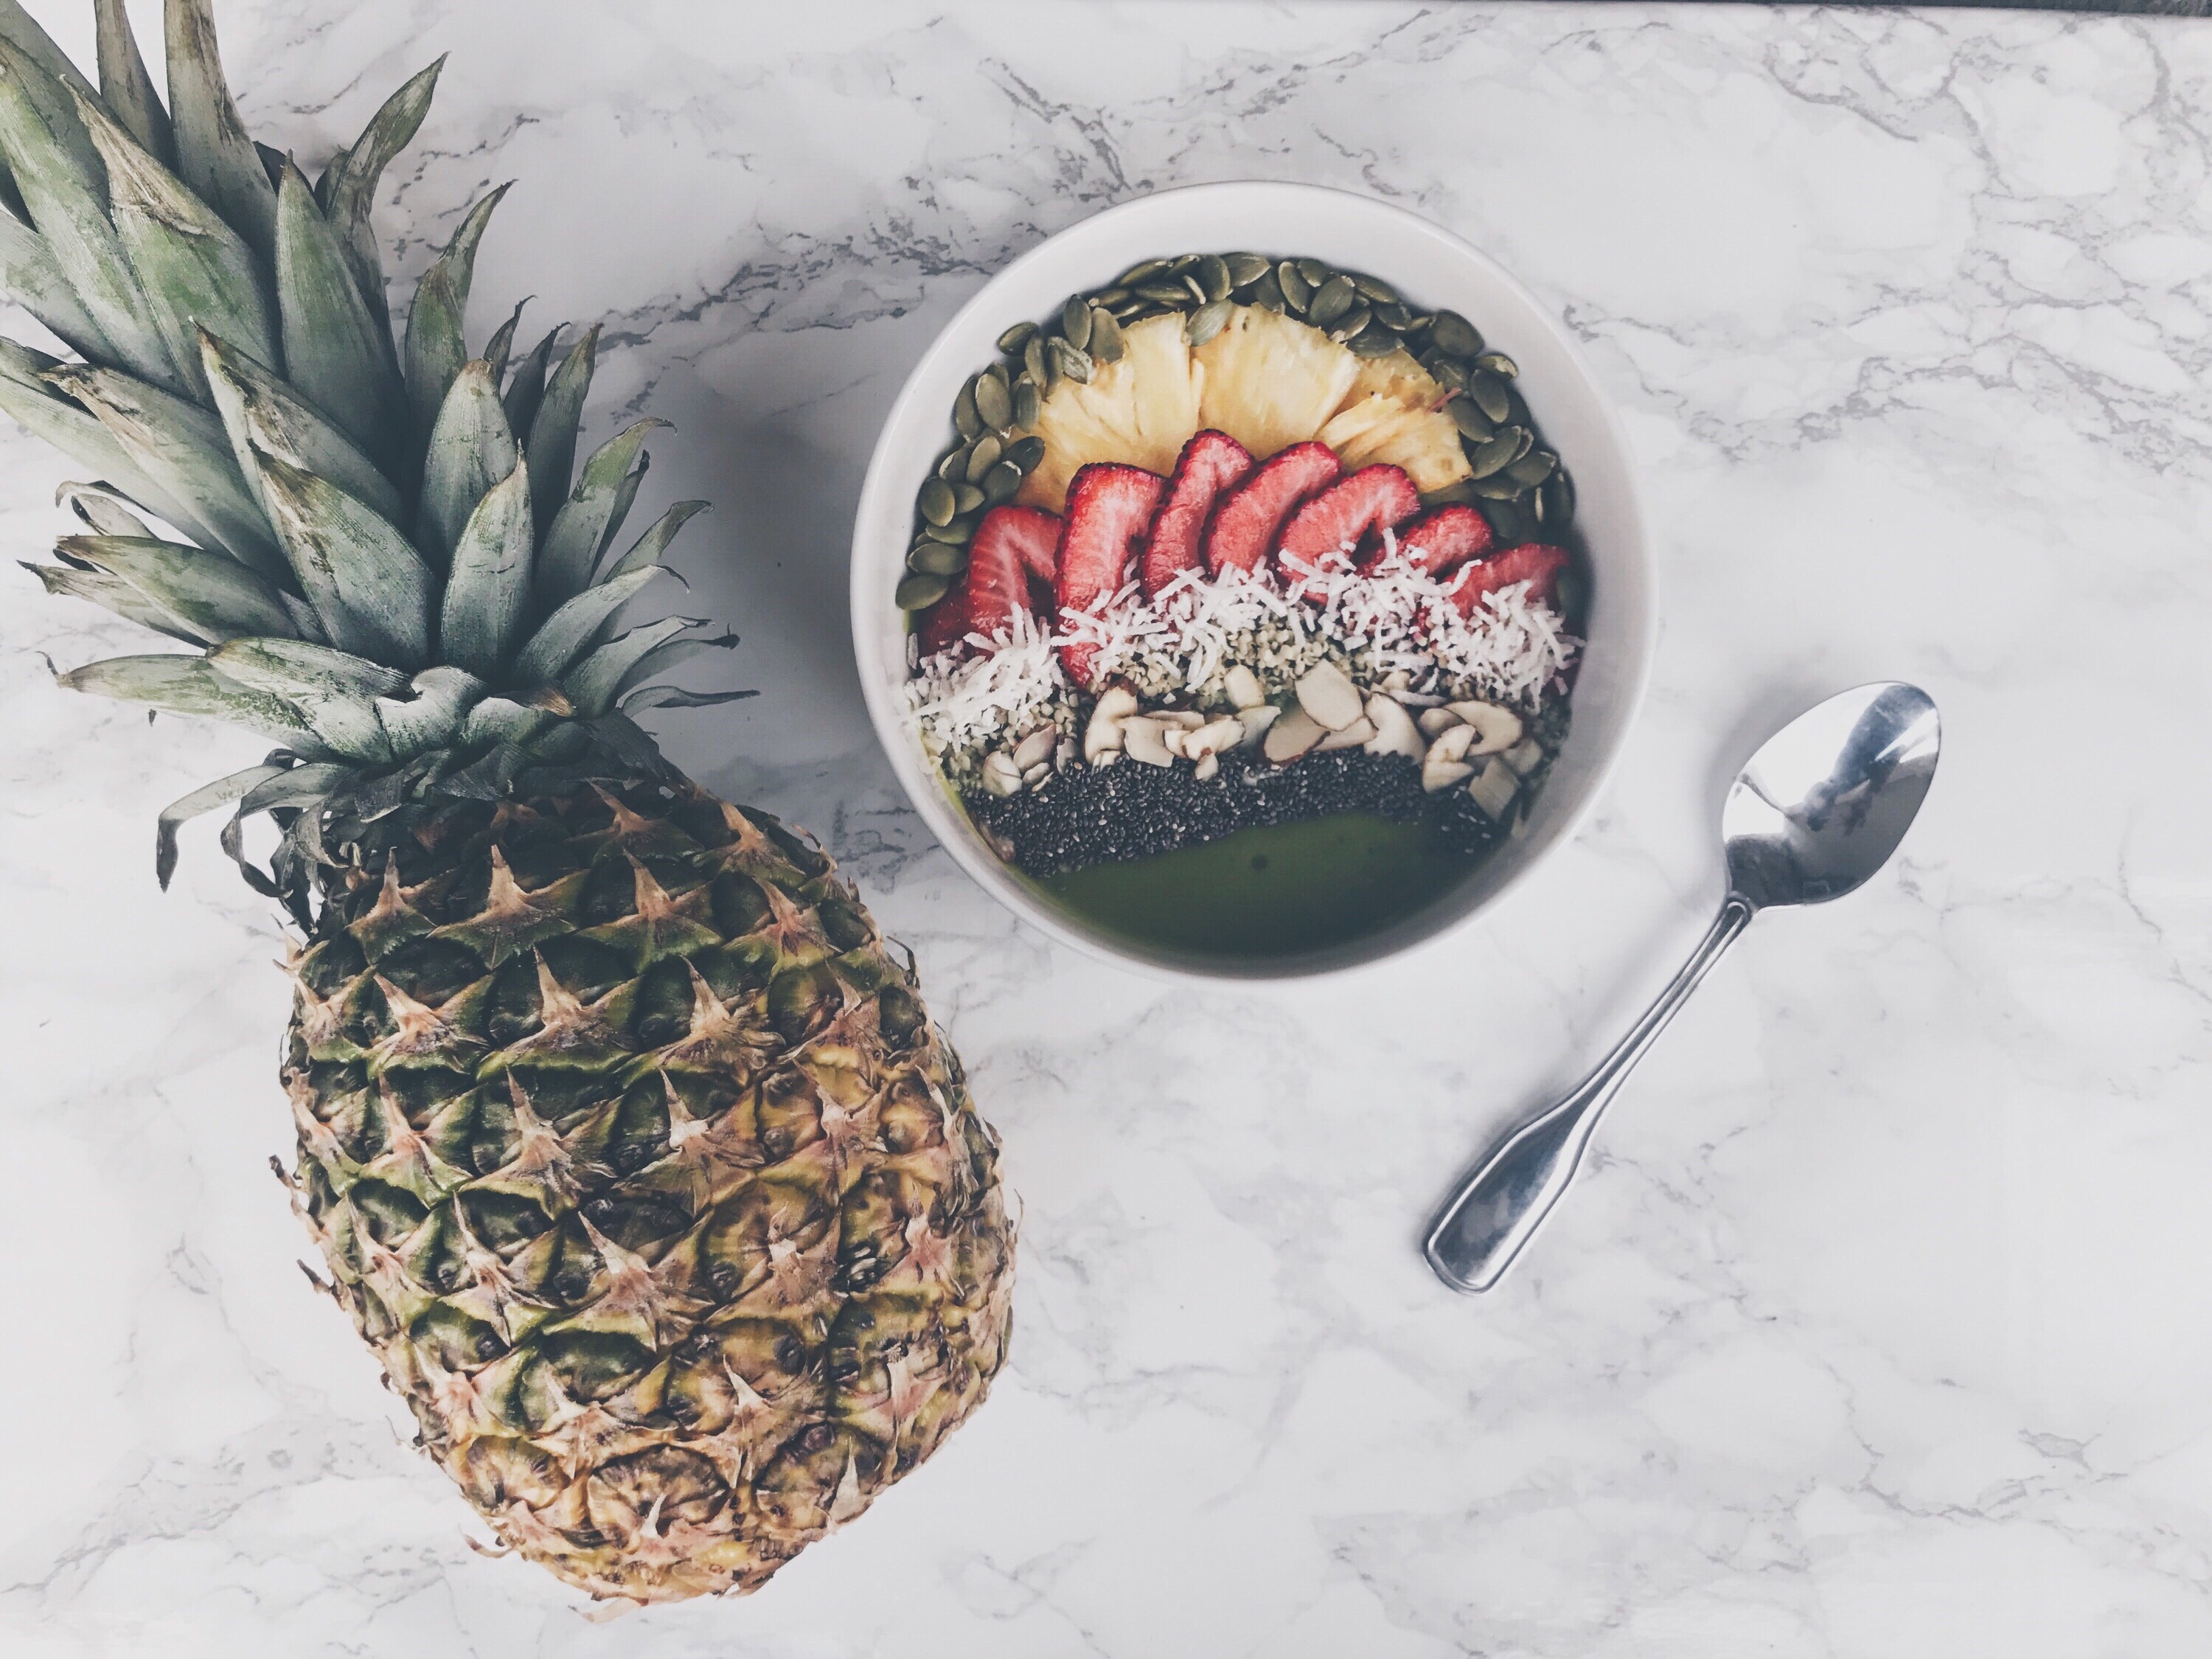
This has all the goodness of a green smoothie but in a bowl. This is a great way to get your fruits and veggies in but somehow is more satisfying than a traditional green smoothie… must be the toppings! I hope you enjoy!
Like with all recipes that include toppings, these are completely interchangeable based off of what you like or what you have on hand. For this recipe and most of my others, I usually add about a tablespoon of each topping as I usually add quite a few for variety.
The toppings I included mostly focused on protein and healthy fats (pretty typical for me) so I included a good amount of nuts and seeds as follows:
almond slices
chia seeds
pumpkin seeds
hemp seeds
shredded coconut
I also needed a little added sweetness
fresh strawberries slices
fresh pineapple slices
The How-To
You guys can probably guess this but put all the main ingredients in your high powered blender (the NutriBullet is what i use). You’ll only want to start out with 1 cup of orange juice. You’ll want the final result to be thick; if it is to thick to blend add additional water until you get the consistency you like. You can use anything other nut milk or even water as a liquid if that is your prefence.
Once everything is blended, add it to a bowl and try to make the surface smooth with a spoon. Now design your masterpiece by topping your smoothie with your choice of nuts, seeds, granola, fresh fruit, etc. Make it pretty so it’ll taste better.
Next, snap a Instagram pic if your “extra” like me and hashtag it #chloevrecipes (This is not a thing yet so help a sista out and use the hashtag thing so that this non-thing can become a thing. It’ll be fun.)
NOTE: This is meant to serve two people. It is roughly 509 calories each serving if you use the same toppings and liquid. The approximate macros are below for those who care. If you are looking for more protein, feel free to add your favorite protein powder to the blender when blending your main ingredients. ItWorks has a great plant-based protein powder that you can order here.
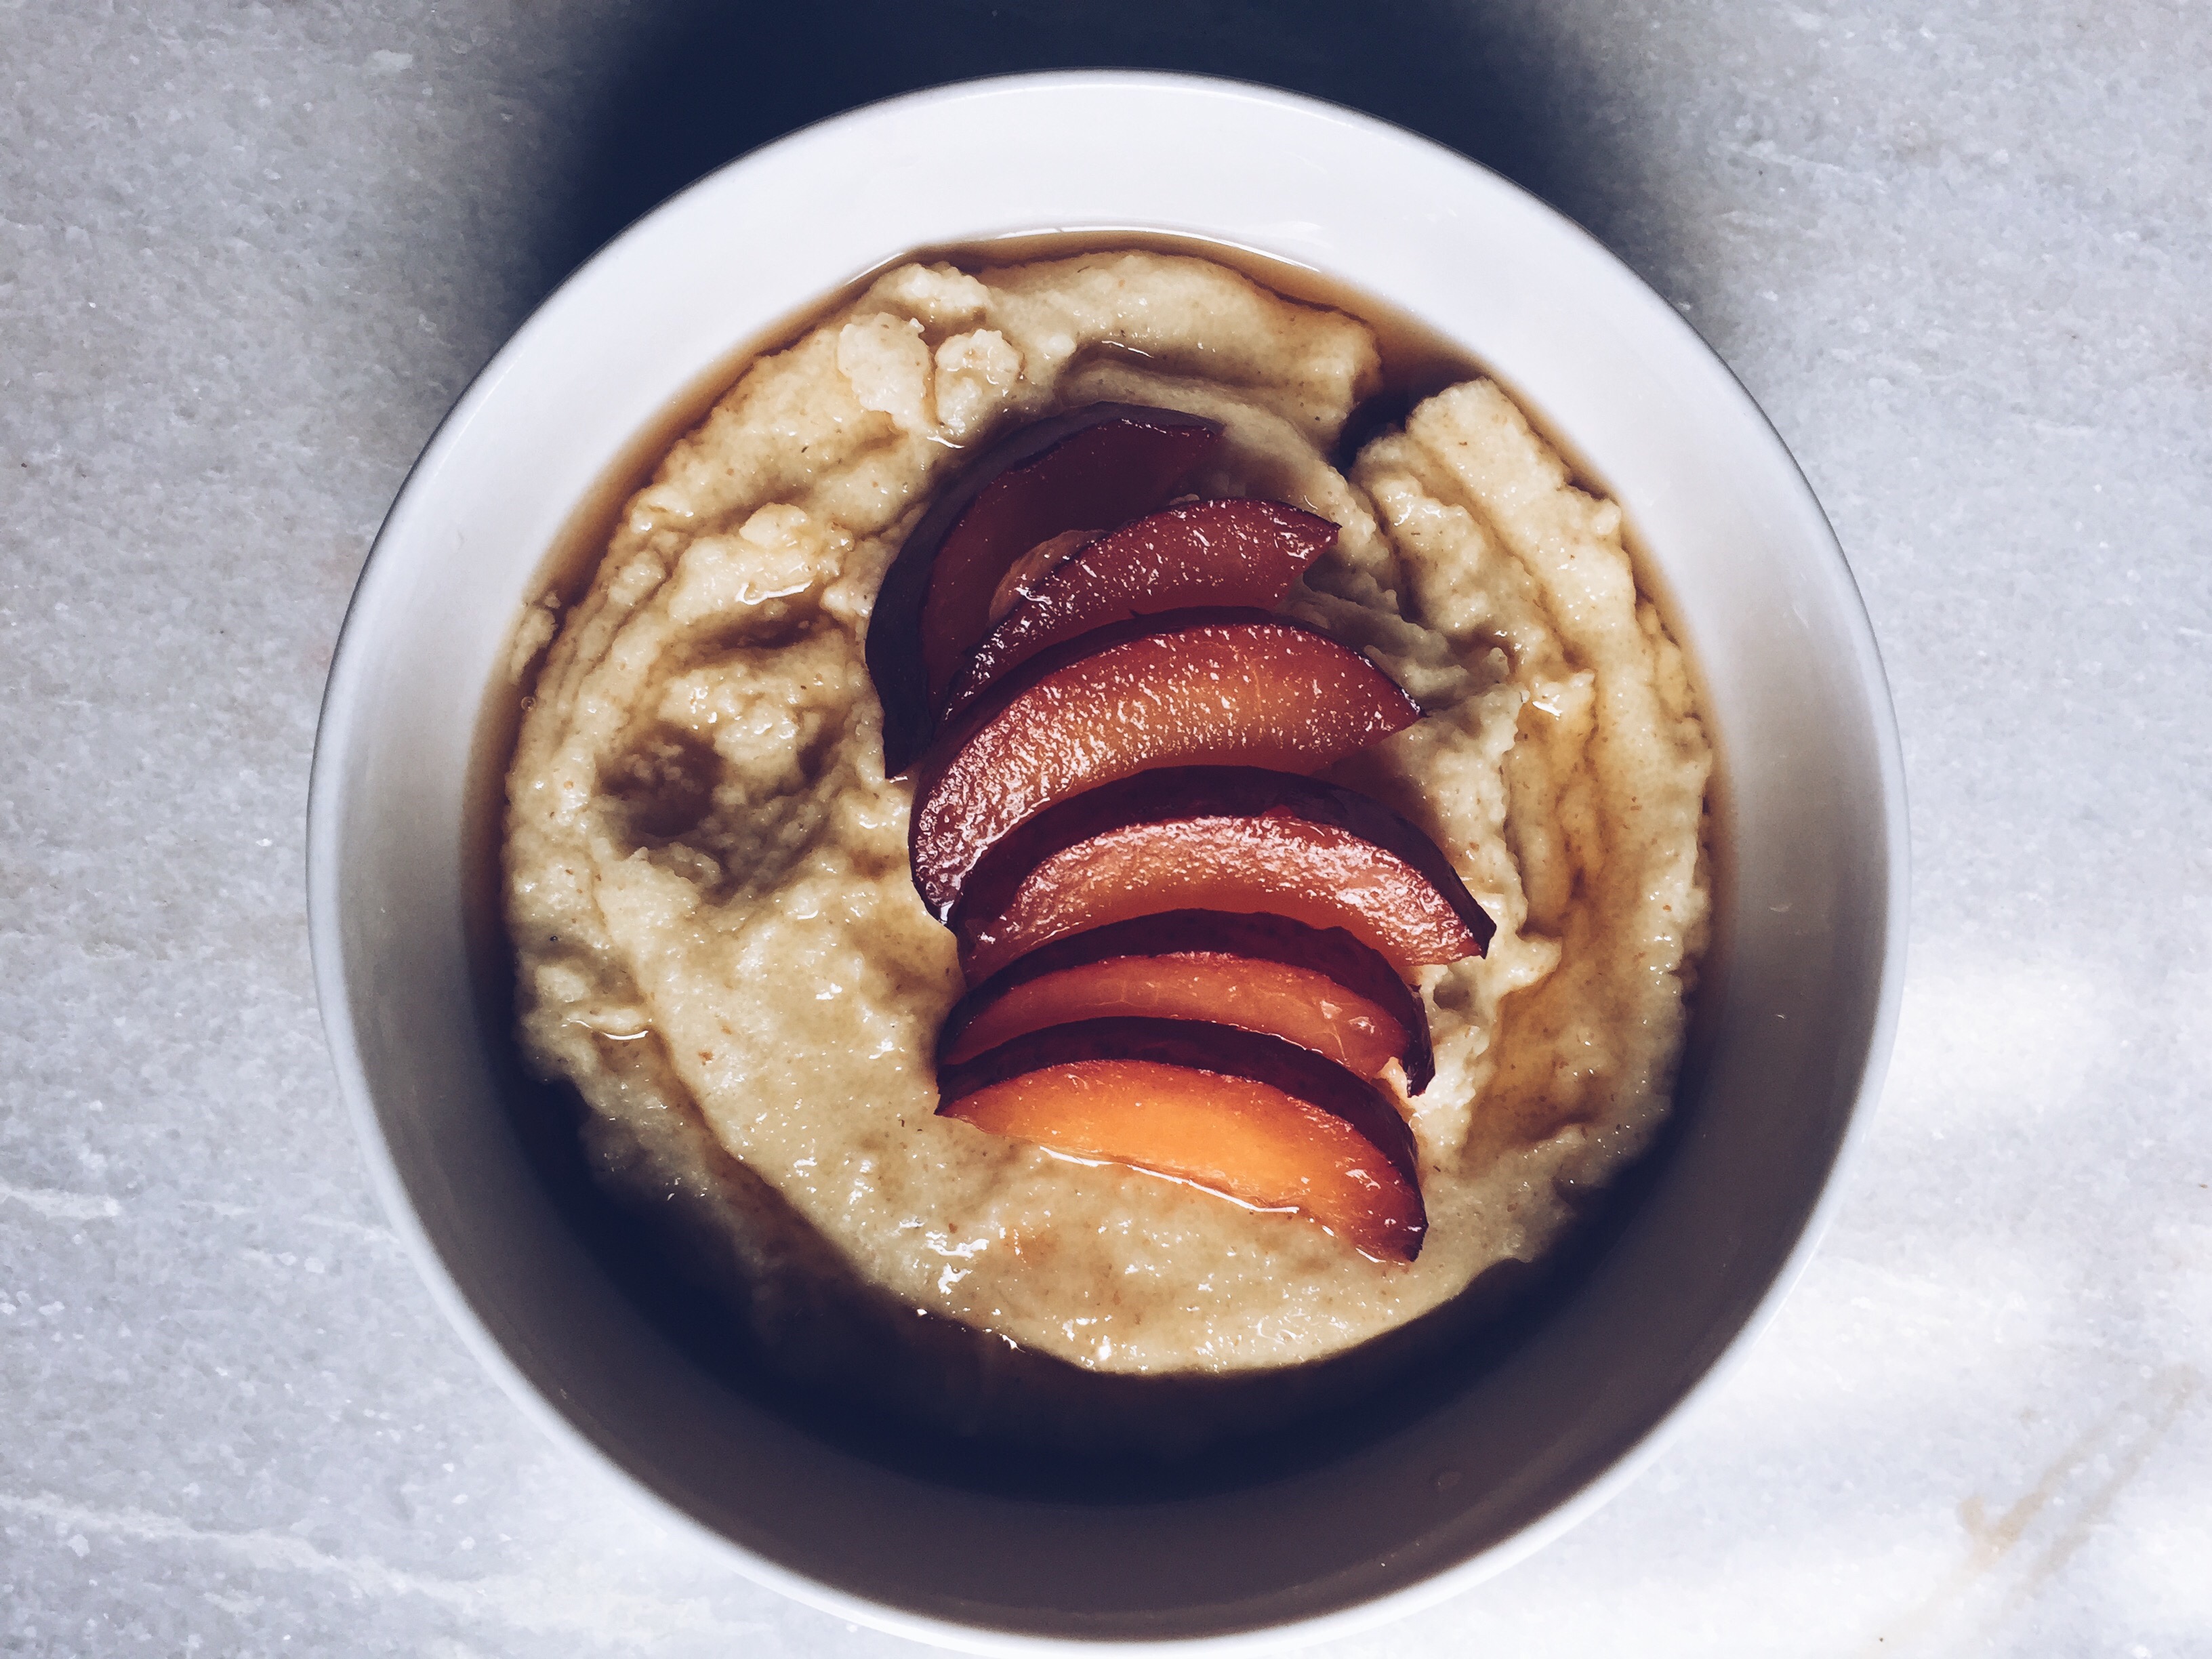
It’s Monday and I’m sure that I’m not the only one who was not ready! But alas, it is here and though I feel somewhat caught off guard, I plan on starting my day off right with a nice hearty bowl of cream of wheat. I know it feels like a flash back to when you were 5 years old but don’t sleep on the simplicity. I think our parents knew what they were doing.
This recipe is short, sweet and packed with plant protein!
Ingredients:
2 cups Plant Protein milk (I like Silk Protein Nutmilk. It only has 2 grams of sugar but 10 grams of protein per cup!)
1/3 cup of dry cream of wheat (The brand is not that important. Usually one serving is roughly 5 grams of protein)
1 tablespoon Agave per bowl (I used Madhava Organic Maple Cinnamon Agave Pancake Syrup because I was out of maple syrup but you can use whatever sweetener you prefer)
Optional
Additional water if your like a thinner consistency.
1 Tbsp Vegan butter (I know there is this stigma with the fats and whatnot but my mom used it and I like it. Just leave it out if you don’t like it.)
Toppings: Fruit, nuts, seeds etc.
See simple ingredients. Serves two by the way.
Put the milk in a pan and bring to a boil. I like to start at a low heat and then increase it to a boil. I don’t know why or if it’s logical, I just do it because it make sense in my mind. Do want you want.
Once the milk is boiling, add the cream of wheat slowly while whisking. Bring to a boil then reduce to a simmer and cover for about 2 1/2 minutes until thickened. Confirm this on your box instructions just in case; these were the instructions one mine.
Cut the heat after it’s done and let rest for a minute or so. Add butter or don’t add butter and split portions into to bowls.
Here you can sweeten and top your bowl however you like from this point. Fruits can be used to sweeten for a healthier option. I sweetened with agave and still added plum slices but again, do want you want. The bowl as is has 15 grams of protein but if you want/need more add nuts or seeds for an extra serving!
Macros for those who care (without butter or additional toppings) – Calories: 380 Fat: 8.5 grams Carbs: 61 grams Protein: 15 grams
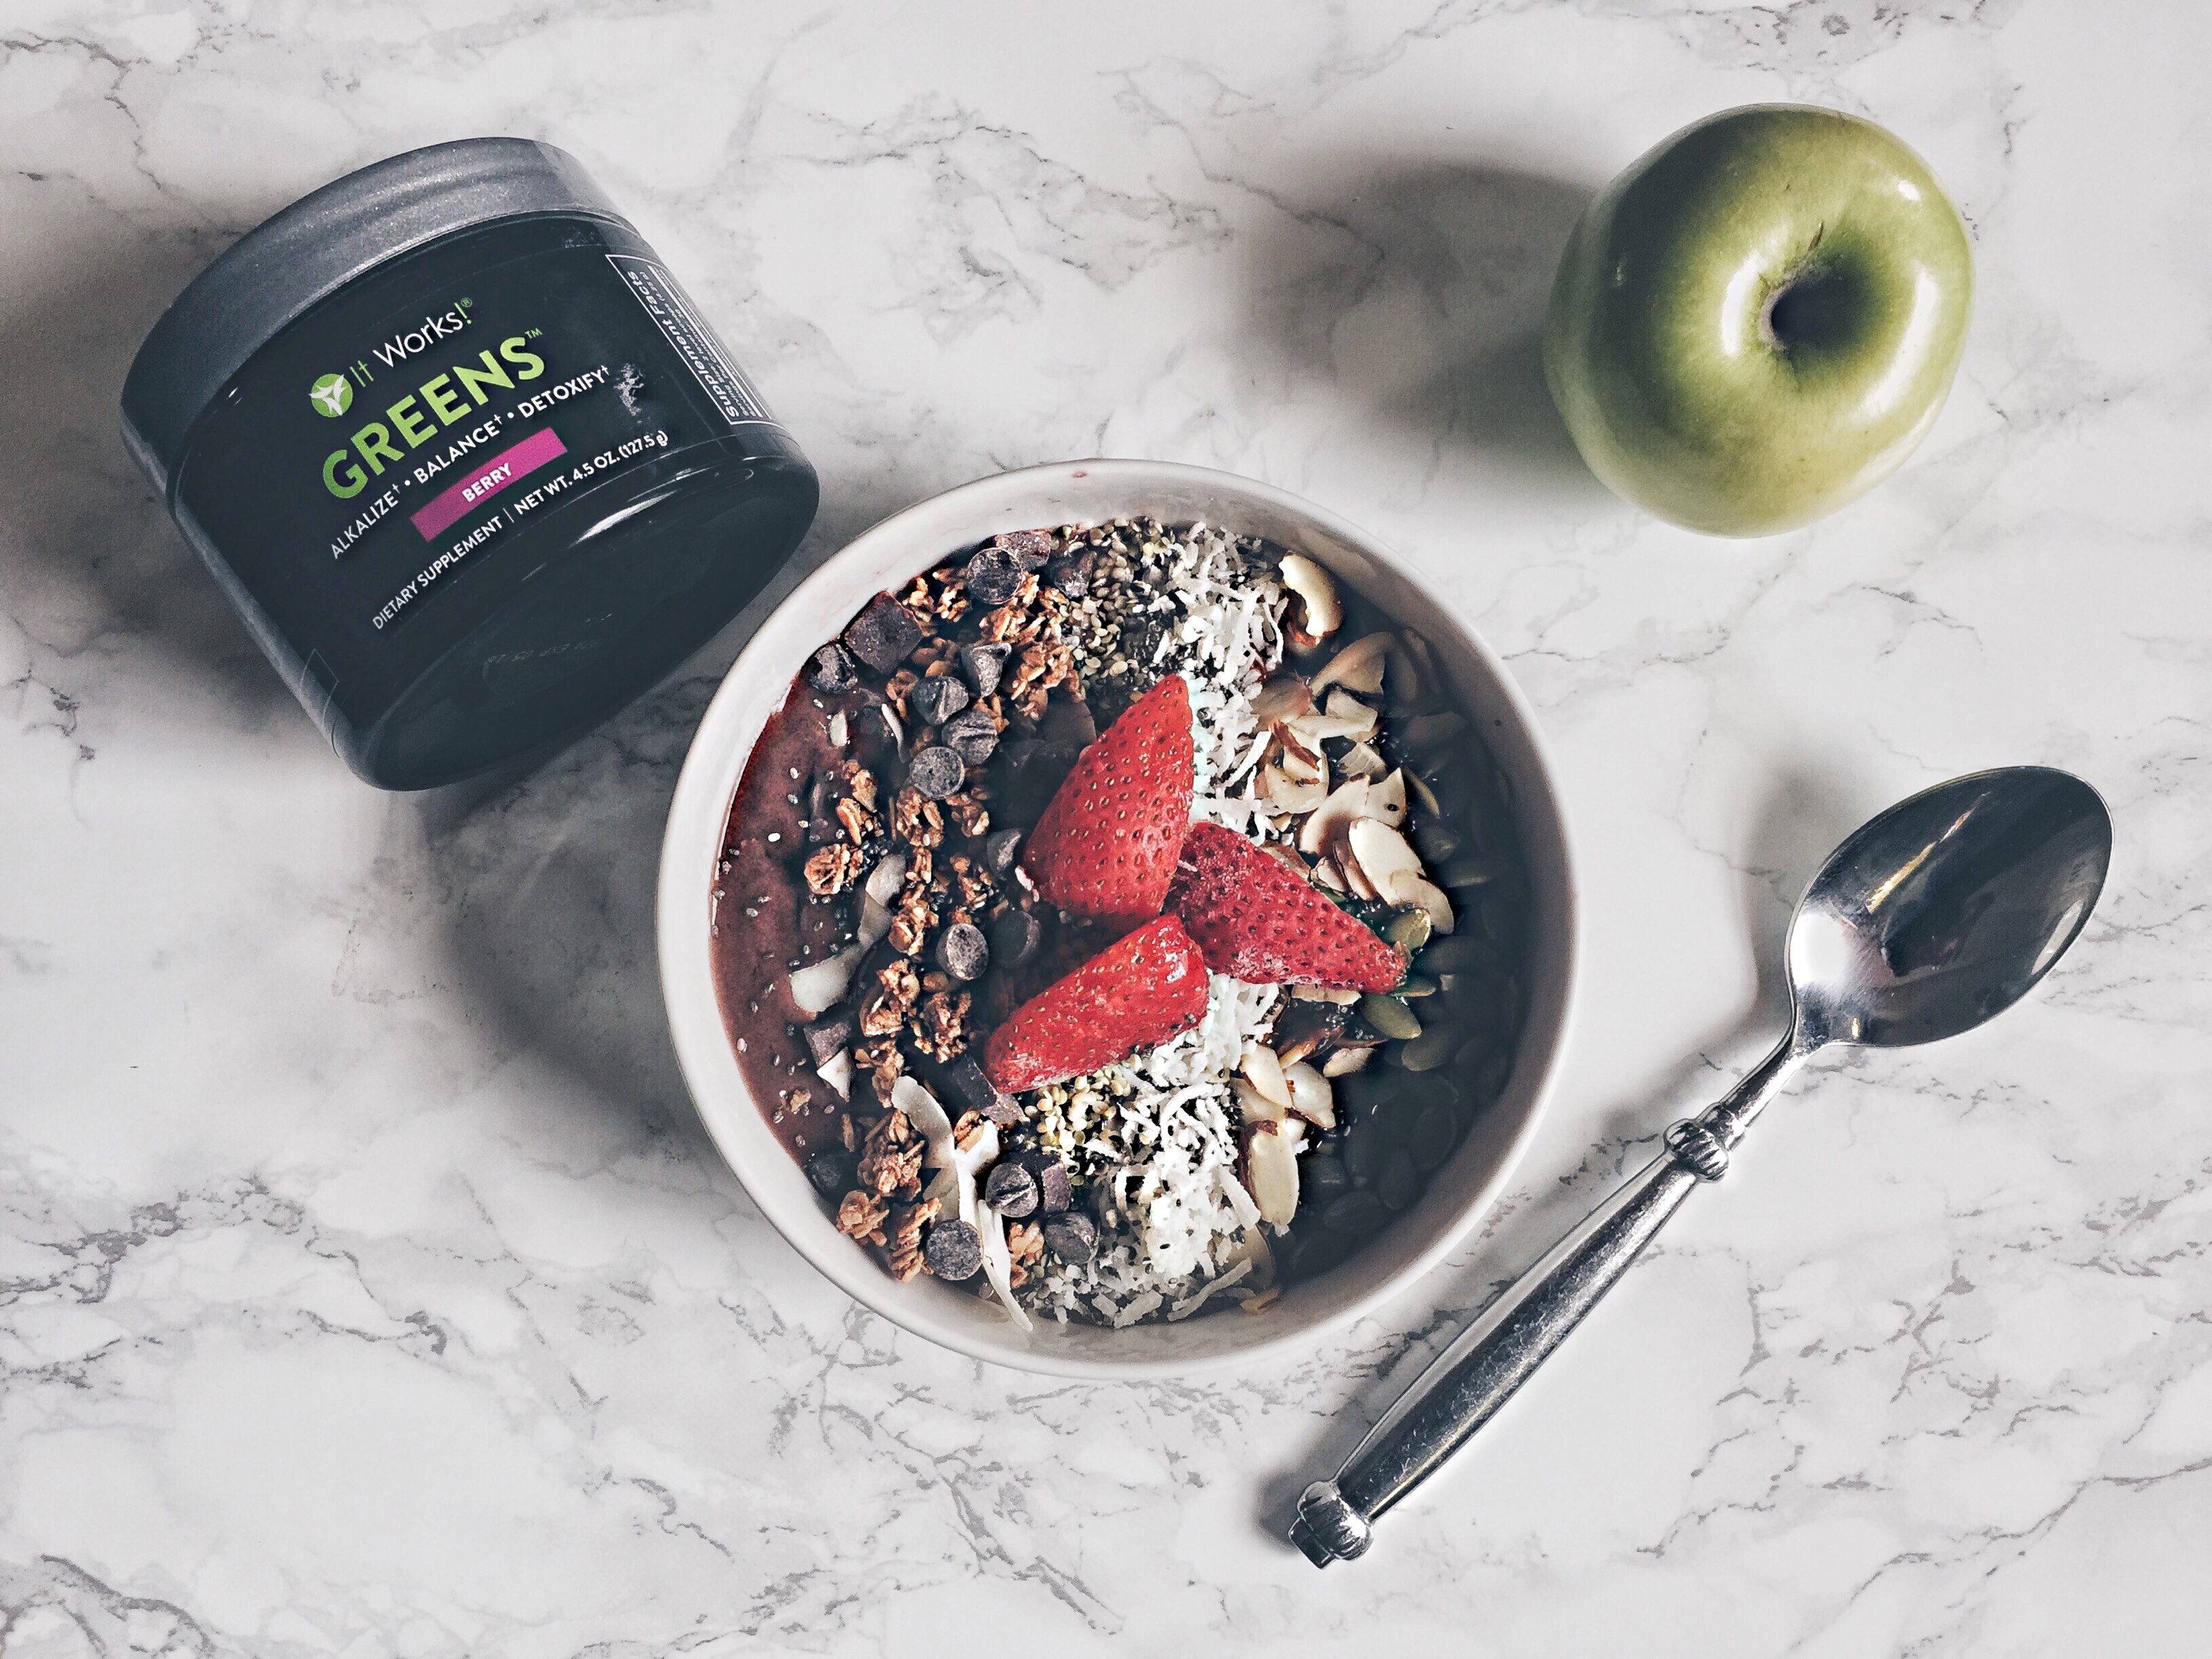
I don’t know many people who don’t enjoy a good smoothie bowl. It’s a fairly new trend in the sense that my smoothie bowls are the first many of my friends and family have ever had. They make great breakfast alternatives for those trying to break away from the traditional oatmeal or yogurt parfait. They are also a cool and refreshing start for those hot summer mornings to come. This is the first recipe in a series of smoothie bowl recipes I will be sharing with you beautiful people. I hope you enjoy!
Like with all recipes that include toppings, these are completely interchangeable based off of what you like or what you have on hand. For each of the recipes I share, I will give suggested toppings but you can add whatever suites your fancy. I usually add about a tablespoon of each topping as I usually add quite a few for variety.
The toppings I included mostly focused on protein and healthy fats (pretty typical for me) so I included a good amount of nuts and seeds as follows:
almond slices
chia seeds
pumpkin seeds
hemp seeds
shredded coconut
I also needed a little added sweetness
fresh strawberries
vegan chocolate chips
Love Crunch Granola – Dark Chocolate Macaroon (I’m currently madly in love with this granola. P.S. I know it already has chocolate chunks but a girl can treat herself, right?)
The How-To
You guys can probably guess this but put all the main ingredients in your high powered blender (I have a NutriBullet and it works pretty darn good). You’ll only want to start out with 1 cup of water or plant milk as you want the final result to be pretty thick; I used water. You can add a little more as needed if you blender is struggling to get all that good stuff blended together.
Once everything is blended, add it to a bowl and try to make the surface smooth with a spoon. Now proceed to the fun part: decorate your smoothie with all the toppings. This is important as pretty food taste the best!
Next, snap a Instagram pic if your extra like me and hashtag it #chloevrecipes (This is not a thing yet so help a sista out and use the hashtag thing so that this non-thing can become a thing. It’ll be fun.)
NOTE: This is meant to serve two people. It is roughly 560 calories each serving if you use the same toppings and use water as your liquid like I did. The approximate macros are below for those who care.
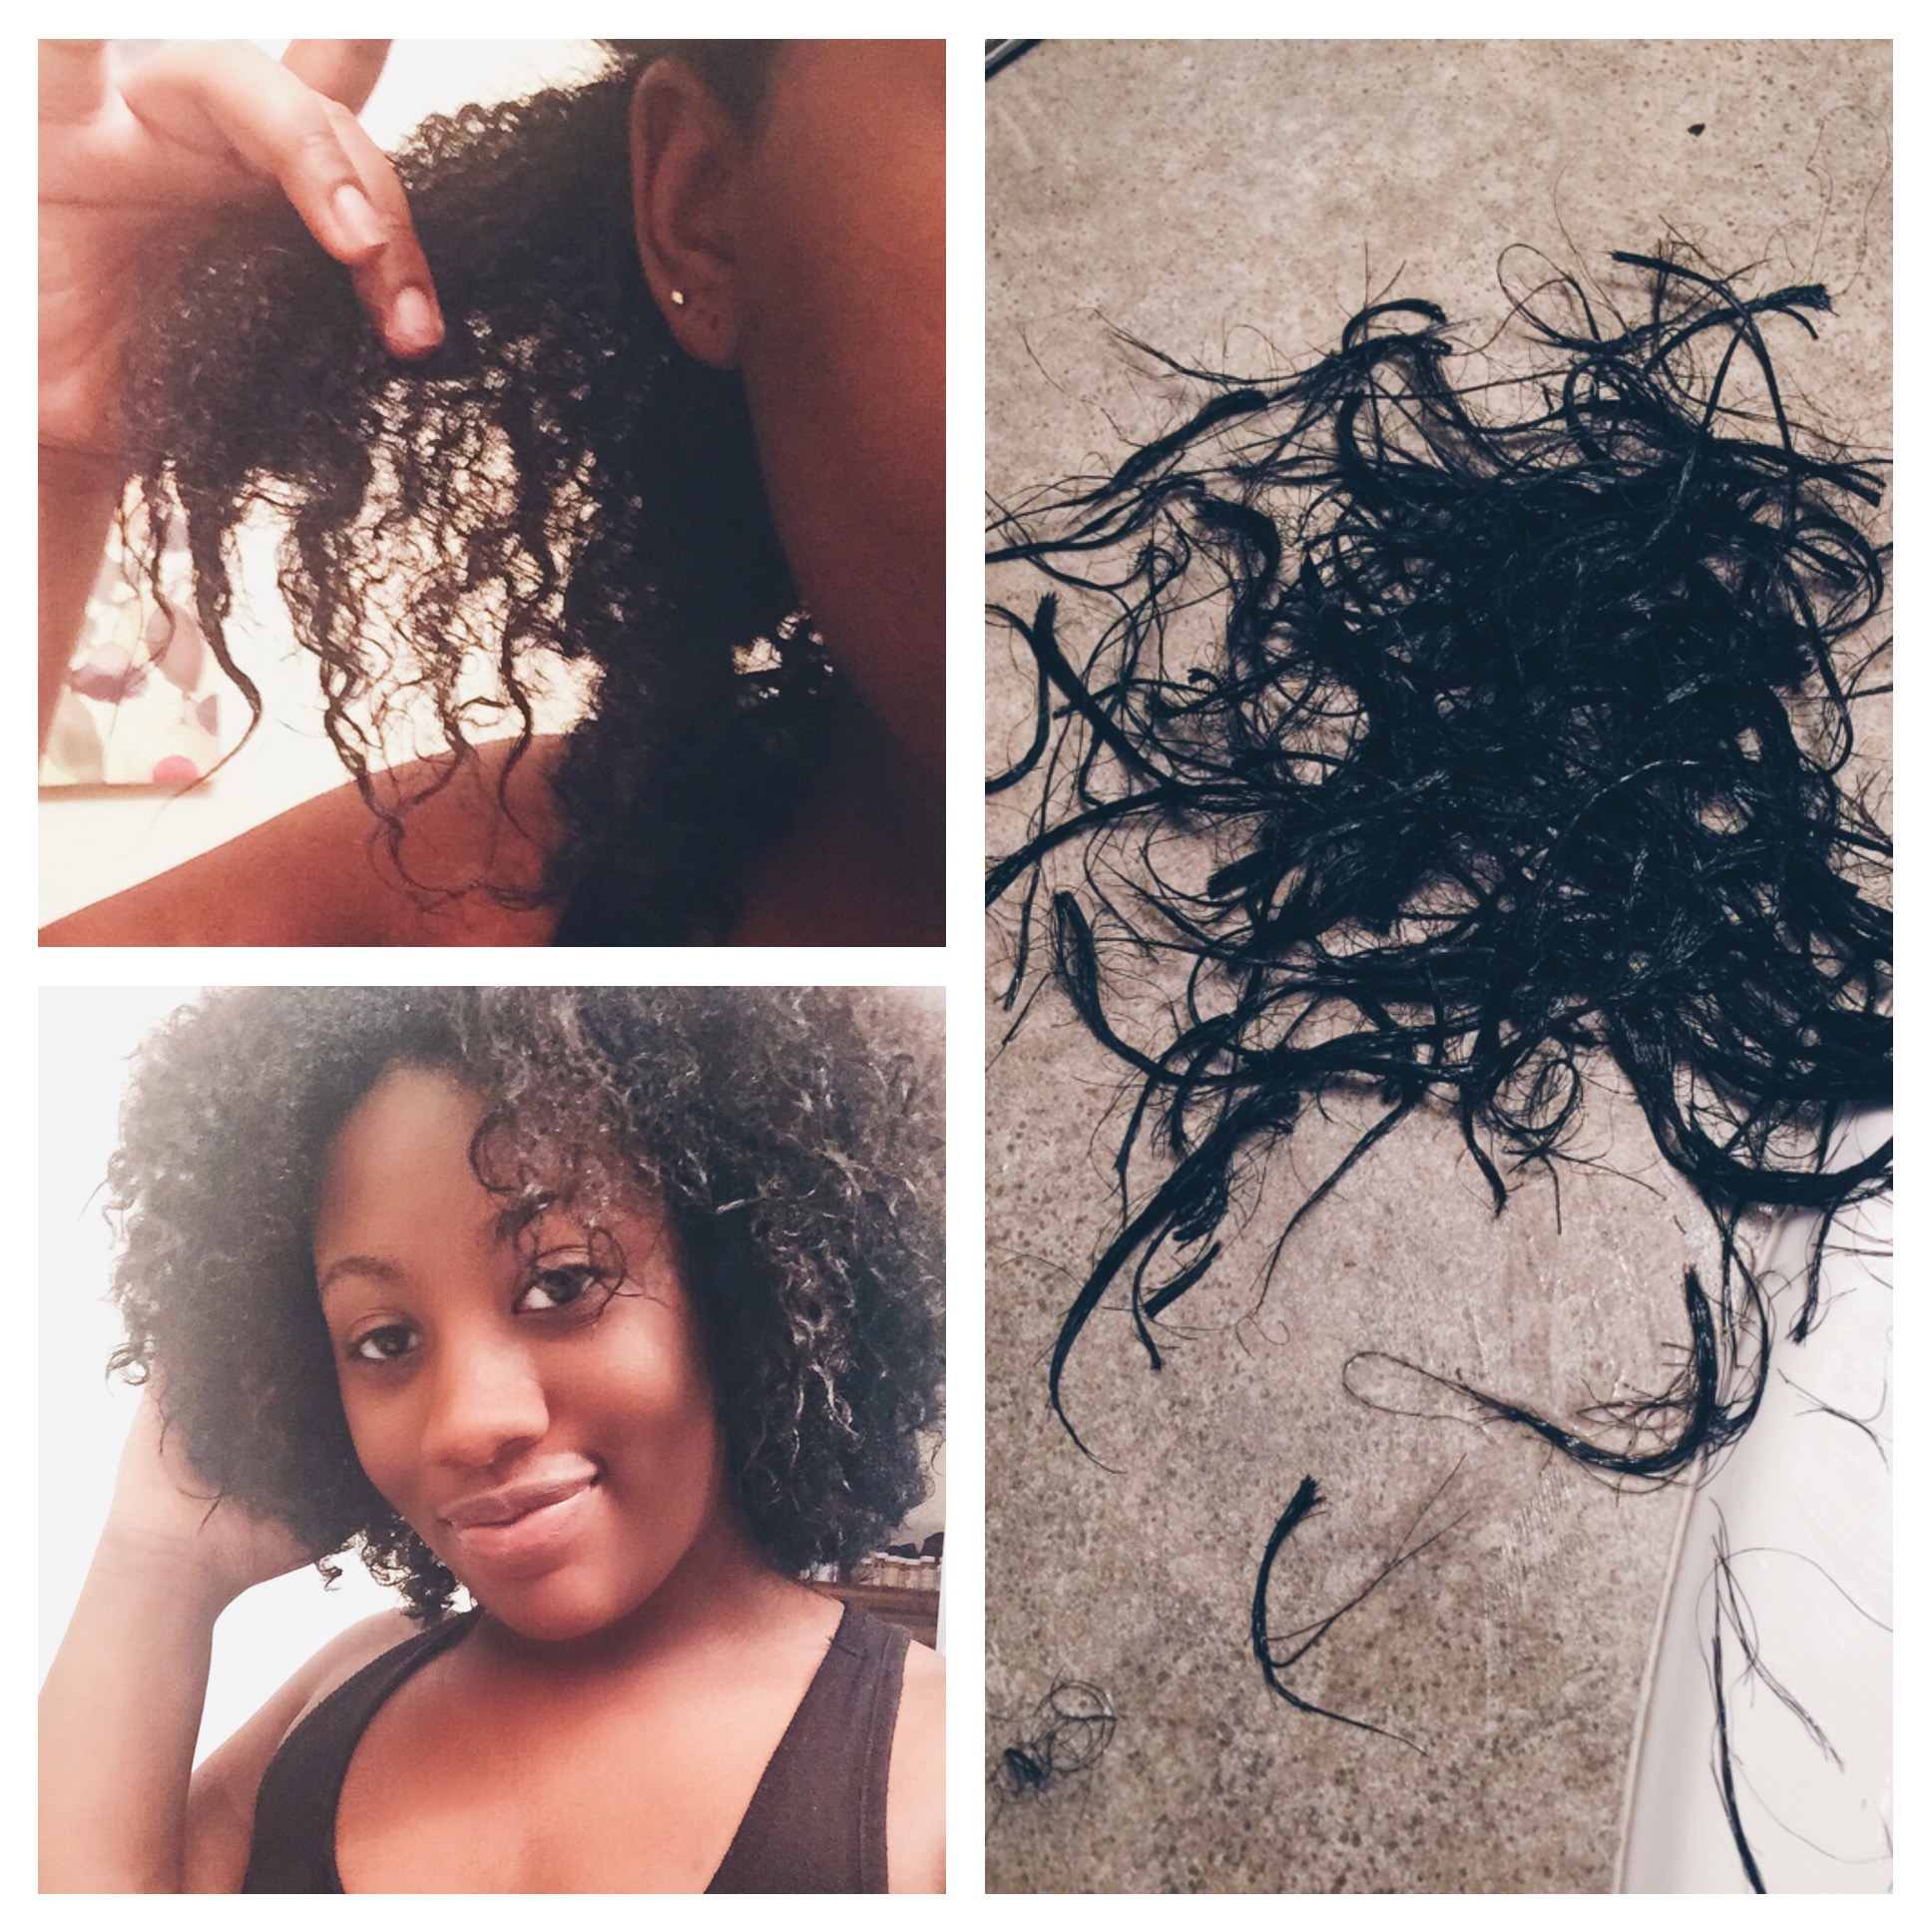
The image above is the day that I cut off the rest of my relaxer after long term transitioning for 22 long months. I was finally free bare face and all!
Pros
Time to learn what works
I have learned to appreciate my transition as a learning experience. Even though I was left with a new head of hair after my transition chop, I had worked with the hair so long that I had a good idea of what worked for my hair and what didn’t. This made managing my newly natural hair so much easier.
You don’t have to deal with short hair
I never wanted short hair. It personally just isn’t a desire of mine so hearing that people were able to successfully transition from relaxed to natural without having to cut off all their hair was amazing to me. I have seen some people who have had a hard time with the big chop not because of the short hair but because of the “awkward stage” that happens when their hair starts to grow out. It may not seem like a big deal to some but I know for others it can be a major hurdle. Some end up keeping short hair just because they can’t stand the awkward stage and just end up cutting their hair again. The good thing about long term transitioning is that I never had to deal with this stage.
Creativity of blending
Because of the difference in textures, I was able to try lot of different hairstyles while I transition. It gave me the courage to try new things and be more creative with my hairstyles. The good thing is that most these styles imitated natural hairstyles. This allowed me to get practice because all the hairstyles totally work for my natural. Score!
Time to get used to being natural
Not only did transitioning allow me to practice hairstyles, it helped me get used to being and seeing myself as a natural. Some people may think that this is not a big deal but for me, it kind of was. I like the occasional curly look but I mostly felt like I looked like a little kid with textured hair. Don’t ask me why I just did and sometimes I still do. Taking the time to transition allowed me to find my look and to embrace it.
Not permanent
This is might be bad but I mostly transitioned on the idea that any day I could change my mind and relax my hair if I wanted to. You see, I didn’t actually want to go natural. At first, I was just stretching out my relaxer and things got out of hand but that’s another story. Any ways, knowing that the choice was mine helped it not seem so permanent. In the end, I guess I wanted to be natural more than I thought because I stuck to it through my whole transition.
Cons
The Wait
There’s no sugar coating, it takes a while. 22 months for me. The only way to get around this wait time is to big chop.
Working with Multiple Textures
Along with the wait, if you decide to transition you will at some point have to deal with two or more textures. It’s a little more complicated than relaxed hair versus natural. I know, your probably like “Chloe, what do you mean? I knew there would be two textures but multiple?” Yes, I have yet to meet a natural, myself included that has one natural texture over their whole head. Usually there’s a mixture of a few. This means that if you are like the majority there will be more than two textures that you need to blend, detangle, style, wash, etc.
Detangling
I know I just mention detangling in passing in the previous con but this process is definitely worthy of getting its own con. This is easier for some but it really depends on how kinky your texture is. For me, a kinky coily girl, it was not easy for a while. It took some time to find out what worked and even after that it still was a long process. When you have relaxed hair attached to your natural hair, breakage is very easy where the two textures meet. Because of this you need to take time and use care when detangling, always.
Not knowing your texture
One thing I found hard for me is not knowing my texture. I wanted to be able to see what it was and learn to work with it but the relaxed hair at the end prevented me from having full access. I didn’t want short hair so I couldn’t cut it off.
Longer Process
Everything is a longer process because, if you cannot tell by now, the relaxed hair is working against you. Well, maybe not maliciously but you get it. Even something as simple as a bun on transitioning hair would take me longer than my natural or relaxed hair. I know this seems weird because it is just a bun right? But for me the struggle was real because the shrinkage would combat with the straight hair. The only way I could do a bun was with stretched hair which was a whole new process on its own.
“But what is strength without a double share of wisdom?” -John Milton
Y’all the truth is that I got my inspiration this morning from my cup of tea, I’ll admit that. But the beauty of that is being able to be enlightened by the smallest things. This just reminded me that it is great to be strong but it is useless to have strength if you cannot be wise. A strong person can endure tough situations. A wise be person can figure a way out of a tough situation and uncover the lesson behind it. Be both with a little extra wisdom. 😉
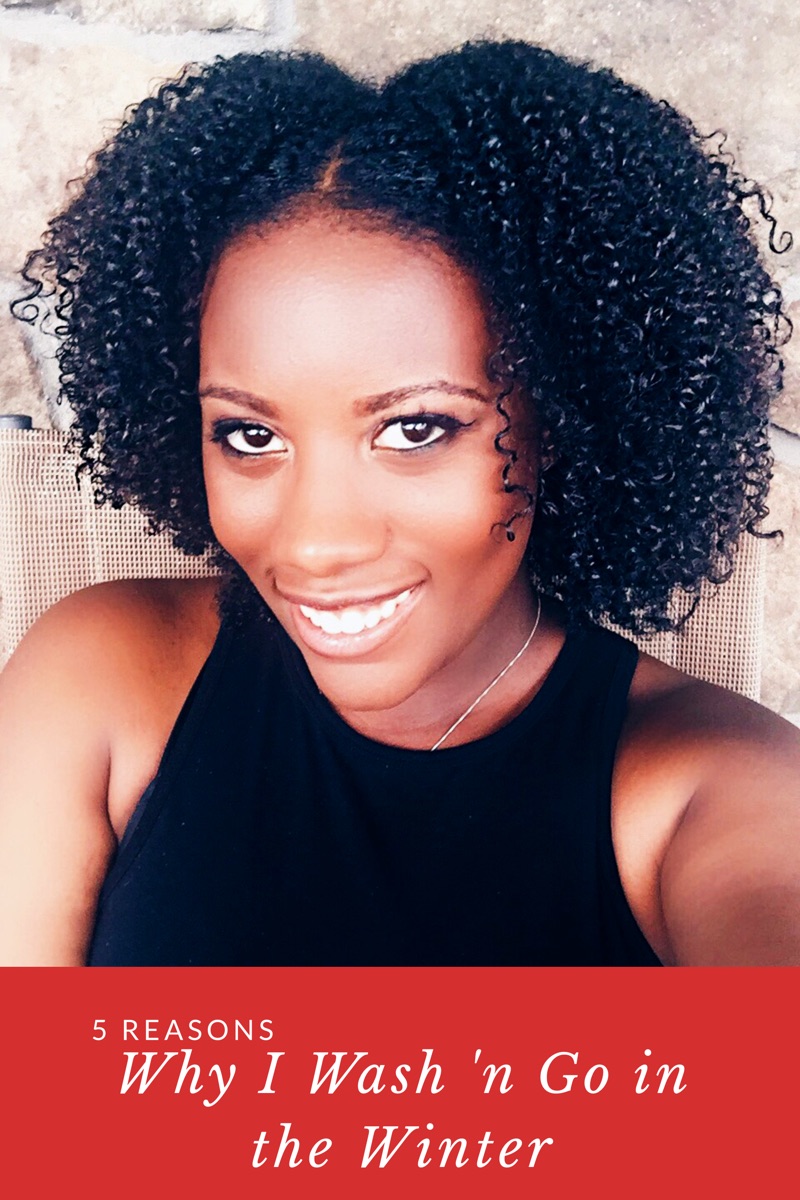
I love a good wash ‘n go, even in the winter. I know… I know… I’m the same girl telling all you ladies to protect your hair this winter. I promise I meant it. Protective styling is super important when you hair needs a break from manipulation, weather, etc. But what if you don’t want to protective style? Is your hair doomed? The answer, in short, is no. I have seen a lot of women (naturals specifically) only protective style in the winter because that is what works for them. However, this is not the answer for everyone. And while I love a good protective style, it is certainly not the only answer for me for a few reasons.
The first reason is that I don’t have to deal with the time. Jesus be a clock because if you have ever had a long term protective style, you know it can take hours to put in and, in turn, take hours to take out! This is what I refer to as a time exchange. Your life will be significantly easier (in terms of your hair) for the duration of your style. You’ll be able to wake up and go. No muss, no fuss! However, this convenience only makes up the time that was stolen from you like a thief in the night! I’ll admit though, the time is almost always worth it!
The second reason is that I find that I can still retain moisture. One reason a natural might continuously wear protective styles is if they need help retaining moisture, which protective styles do a great job of. Believe it or not, my kinky curly coils keep moisture quite well, even in the harsh cold. Because of this, I can wash ‘n go, ends exposed and all, without having to worry about excessive dryness.
The third reason is that I am able to keep up with my regimen. This is also what helps my hair from getting too dry. I am able to cowash, wash and deep condition as I normally would. This isn’t to say that you can’t do this in a protective style, you can. But for me, it’s easier with just my hair and I hold myself a little more accountable. I can easily forget or choose not to deep condition for weeks or at all with box braids, fact. It’s terrible, I know. Don’t be like me.
The forth reason is that I still have small amount of manipulation. One thing that can help you retain length is to not over manipulate your hair. This can be done by over styling, frequent use of combs or brushes, and just messing with your hair overall. When I do a wash ‘n go, I do not manipulate it after my hair is set. I put it in a pineapple and wrap it at night and I shake and fluff in the morning. Easy peasy!
Last and certainly not least is the simple fact that I miss my big, fluffy, wild, kinky curls! I love a good protective style but at the end of the day, I love my hair a little more. I usually can take it for a couple of weeks but I notice that with styles that are longer, I start to get that itch to see my own God given crown.
There’s no right or wrong way to care for your tresses, beautiful people! The most important thing is that you do what works for you. Listen to your hair! If it likes to be in protective styles, do it. If it likes a wash ‘n go or twistout, do that. Whatever it is, just do you.
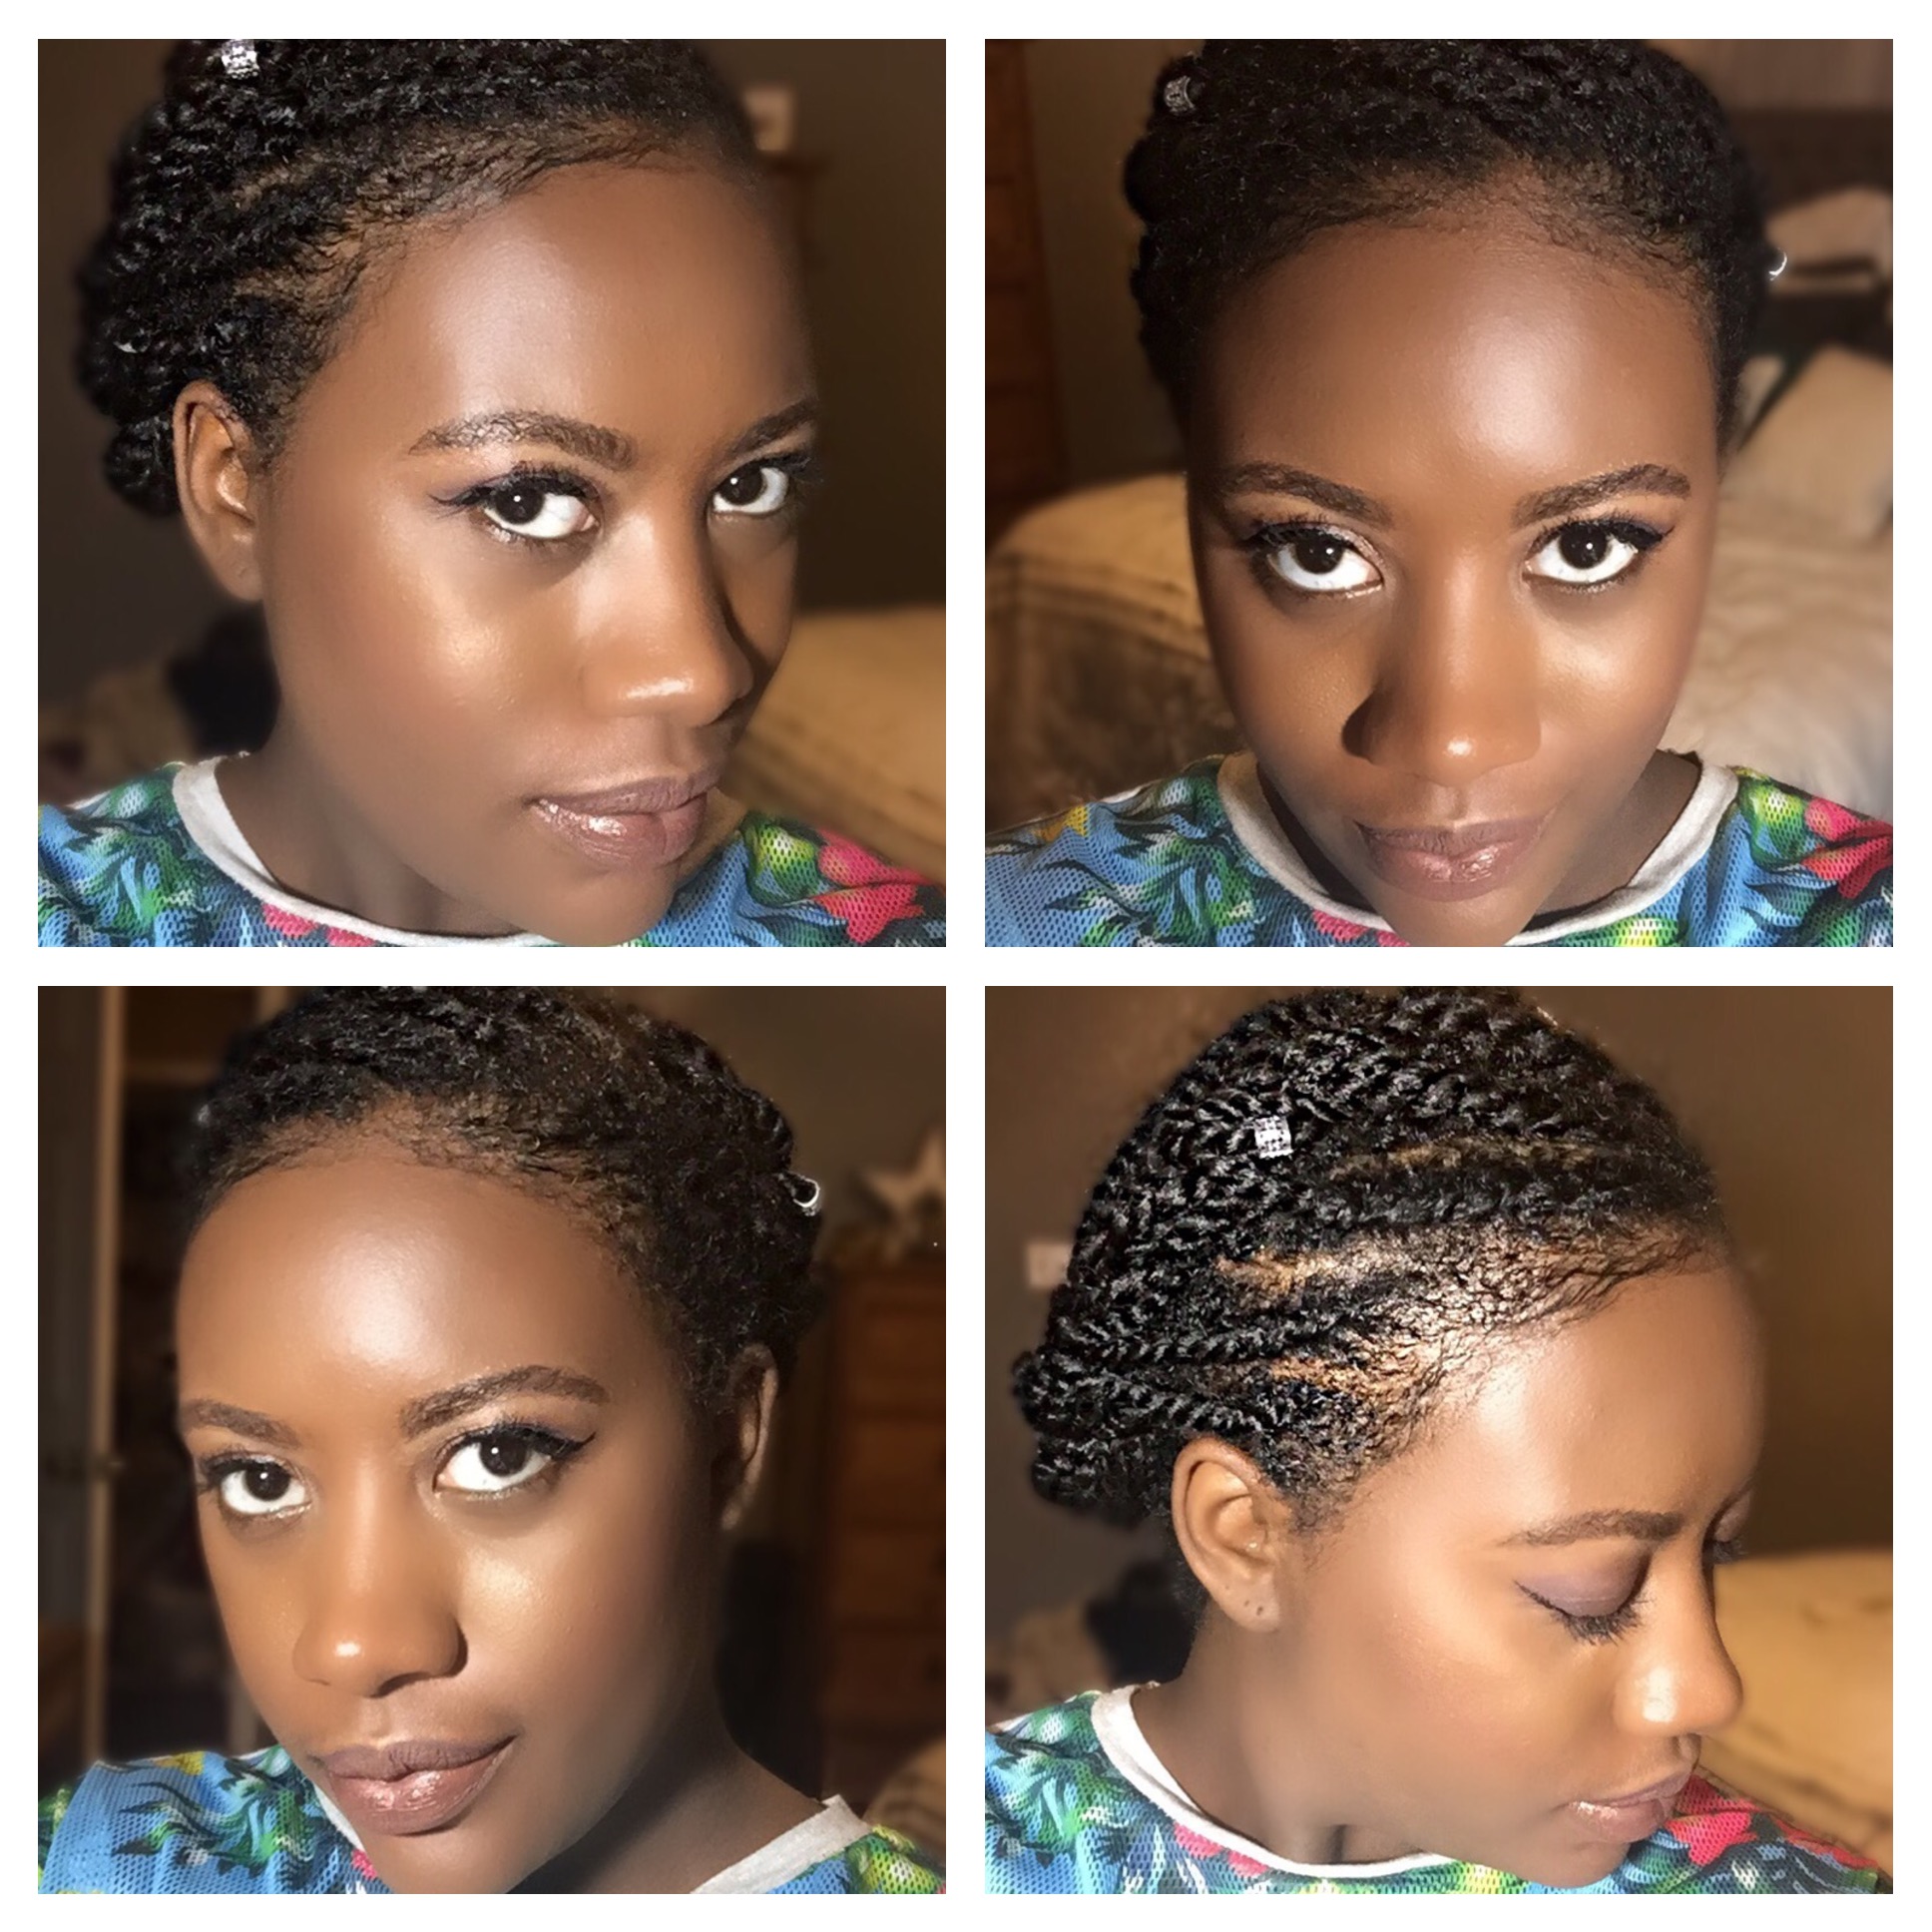
Lately, I have been talking about protective styling. It comes in clutch during the cold winter months. I mentioned that finding the right hairstyle is important because the key is to keep it the style in as long as possible. This tutorial is a style that I like. You have the option to wear it as is, which I do for least the first week.
Then I might change it up for the second week and experiment with updo’s like in my previous post (pictures below).
Twisted Crown
Another plus was that I was able to wear a twistout after I took the twists down, score! This one style saved me from having to do any extensive manipulation to my hair for weeks!
Twistout
This is really a win/win style! I hope you try it!
I believe there are 4 things that you need to get a successful protective style. Here we go!
The right style
It might sound weird but picking a style is the most important part. In my previous post about protective styling, I give quite a few examples of styles that would work and I also told you to use your imagination. I stand by that by the way. However, the whole point to protective styling to make sure that your hair is essentially unbothered for a week or longer. If you pick a style that won’t last or you don’t like it enough to keep it in, it would be able to do what it was intended to. It’s just another style.
The right products
One thing that helps your style to last is not just the style itself but the products that you decide to use. You’ll want to make sure that you are using moisturizing products so that you aren’t required to moisture every day. I like to use essentially the same type of products but I might either use heavy versions (like shea butter instead of olive oil) or I might apply more product to my hair. Another thing to think about is the hold product your will use or if you will use one at all. Again, since you want this style to last as long as possible, it might be helpful to have a product that will assist in keep your still fresh and combat fly-aways and frizz.
Detangling
Since your hair will be tucked away for a longer period of time, you definitely want to make sure that you are style fully detangled hair. I know, detangling can quite possibly be a natural form of torture for some… or maybe it’s just me. However, it is necessary. Styling on hair that is not detangled is asking for trouble. Your hair already sheds daily; this shred hair will add to whatever tangles that are already in your head. This can make matting a possibility and could potentially cause damage to your hair and breakage. Which would negate the whole point of protective styling.
Time
The last thing, in my opinion, is time. I know, I said a protective style could be as simple as a bun and this is true. It is also true that for a lot of people a bun is super quick, certainly not as longer as installing mini twist all over your head. However, like I’ve stated before, the goal is for this style to stay moisturized and last. So, whether you are during a complicated or lengthy style or a simple bun, you need to take the time to fully detangle your hair, moisturize your tresses completely and sculpt your style so that it will not require you to redo it for the time you have scheduled to leave it in your hair.
Whether you are new to the natural hair scene or a seasoned vet, you have probably heard of the term “protective style”. However, in the case that you haven’t, let me briefly explain. First, let me be clear, you do not have to be natural to protective style your hair; this is for everyone! A protective style allows you to do just was it says: protect your hair from things like dryness, weather and manipulation with a style. Weather protection is most important during the colder months, which could make your already fragile ends brittle and dry, causing unnecessary breakage. Let’s face it, winter is coming! (Sorry, I love Games of Thrones so I had to!) But still, it’s true and the battle is just beginning. Now of course, different types of protective styles can vary in look and the time they are meant to lasts but they have a few benefits in common that will help you through the winter months.
Every protective style requires little to no daily upkeep, it should help keep your hair moisturized, and it also should protect the ends of your hair by keeping them “tucked in”. I put “tucked in” because I use this term loosely. The reason for this is because the might not necessarily be tucked away. Your ends will, more so, just not be totally loose, e.g. a twist out or wash n’ go.
Extensions
Some examples of a proactive style where your ends are away and out of sight are buns (peep the fun buns at the top), box braids, cornrows with braiding hair, wigs, sew-ins (check out the extensions above), bantu knots and the list goes on. For these styles, all of your ends are hidden. Some styles where your ends are mostly protected but not totally hidden are single twists, flat twists and braids that are without added hair, cornrows without added hair, up-dos style with bangs or some sort of leave out. As you can see, you’re only as limited as your imagination and available Youtube tutorials.
Regardless of style, what I love the most about protective styling is not only the fact that my hair is protected from dryness, the elements or my hands that are forever pulling and tugging on my tresses but that I get a break from doing my hair. There is nothing quite like waking up and being carefree! Well… at least when it comes to your hair.